If you're looking for a strawberry cheesecake recipe with a fun twist, look no further! This super soft, creamy strawberry cheesecake will blow your taste buds away!
It packs intense strawberry flavor into every bite, but the Oreo cookie and walnut crust is what makes this recipe truly unique. The surprise ingredient that really help tie everything together, though, is the rum found in the filling.

This delicious, no-bake strawberry cheesecake is one of my favorite summertime recipes, but it doesn't need to be strawberry season to enjoy this fruity and refreshing treat.
No matter what time of the year you're preparing this scrumptious recipe, it's sure to be a big hit with all your friends and family!
- Austrian Strawberry Sponge Cake
- Strawberry Cupcakes with Ricotta
- Strawberry Flavored Whipped Cream
- Strawberry Cobbler
- Strawberry Simple Syrup
- Strawberry Popsicles
- Strawberry Spritz
- Strawberry Milkshake
- Strawberry Cream
- Strawberry Milk
- Strawberry Moscow Mule
Jump to:
🥘 Ingredients
For the Oreo crust
- Oreo Cookies - or any chocolate sandwich cookie of your liking
- Unsalted Butter
- Whole Milk
- Ground Walnuts
- Corn Starch
For the cheesecake filling
- Mascarpone Cheese
- Cream Cheese
- Heavy Cream
- Powdered Sugar
- Strawberries - fresh or frozen
- Vanilla Extract
- Rum
- Water
- Sugar
Garnish
See the recipe card for quantities.
🔪 Instructions
Crust
The first thing you'll want to do for this recipe is get started on that unique crust! Start by crushing your Oreos and walnuts with a rolling pin. I highly recommend placing your walnuts and Oreos into a plastic Ziplock bag beforehand to minimize the mess.
To make it even easier for you, crush the Oreo cookies by using an electric chopper.
If you can find cookie crumbs in the supermarket and save yourself a step, even better!
Next, you'll need to melt your butter! You can do this in the microwave or on your stovetop. If you plan to melt your butter in the microwave, simply heat up the butter on medium heat until the butter is completely molten. If you're melting your butter on the stove, be sure to heat it up on a low flame.
You'll need to save two tbsp. of the melted butter on the side, but the rest can be mixed in with your milk, crushed Oreos, and walnuts. Be sure to mix well! In the end, the mix should be a bit sticky when pressed.
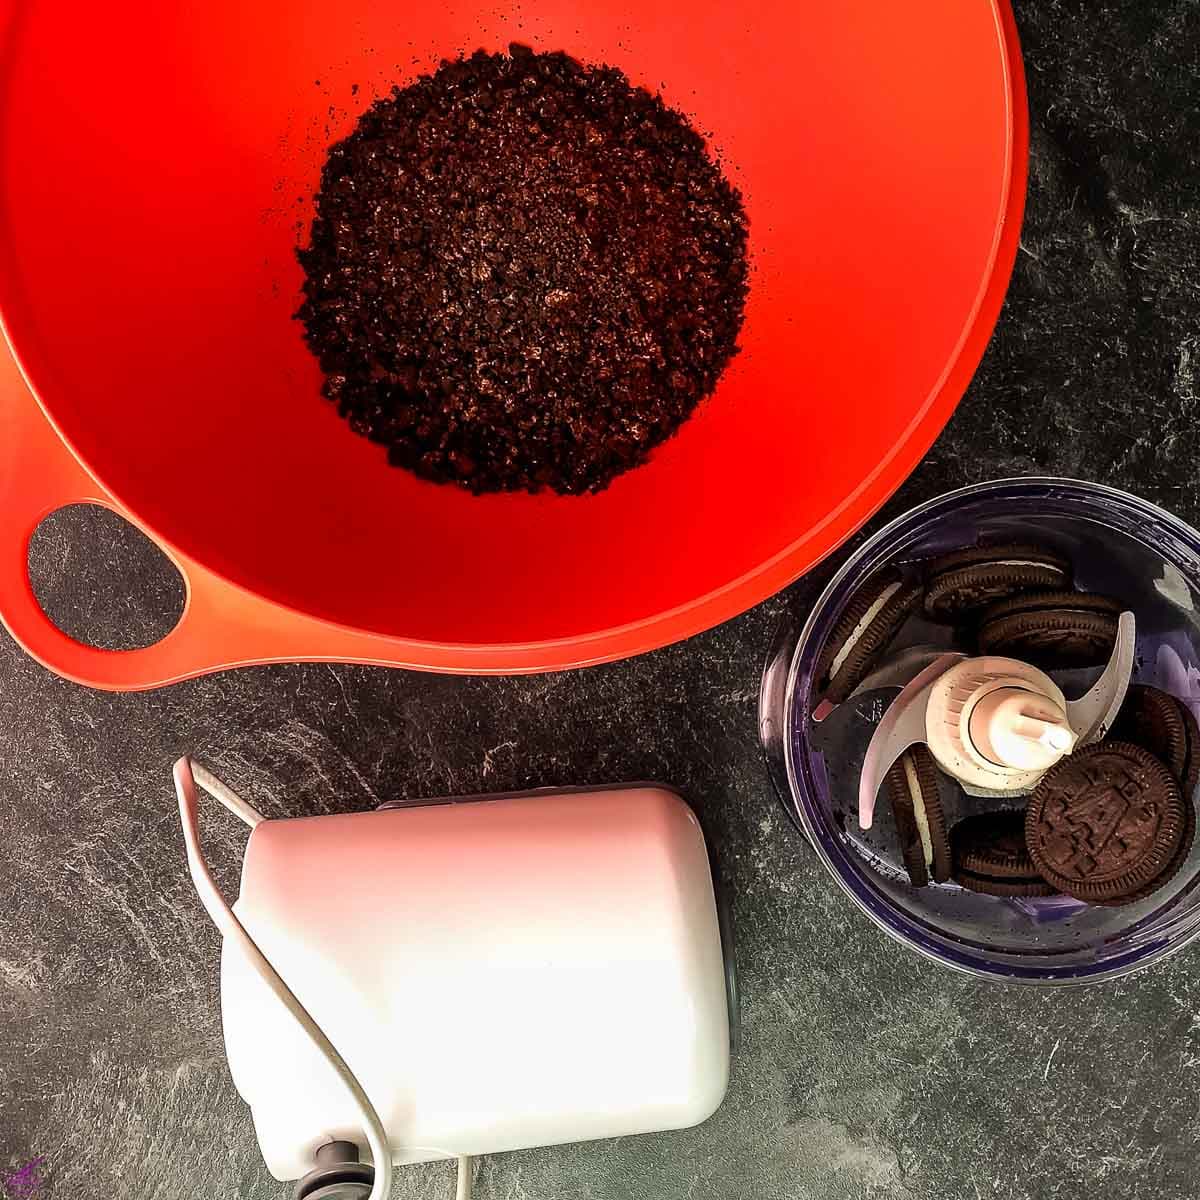
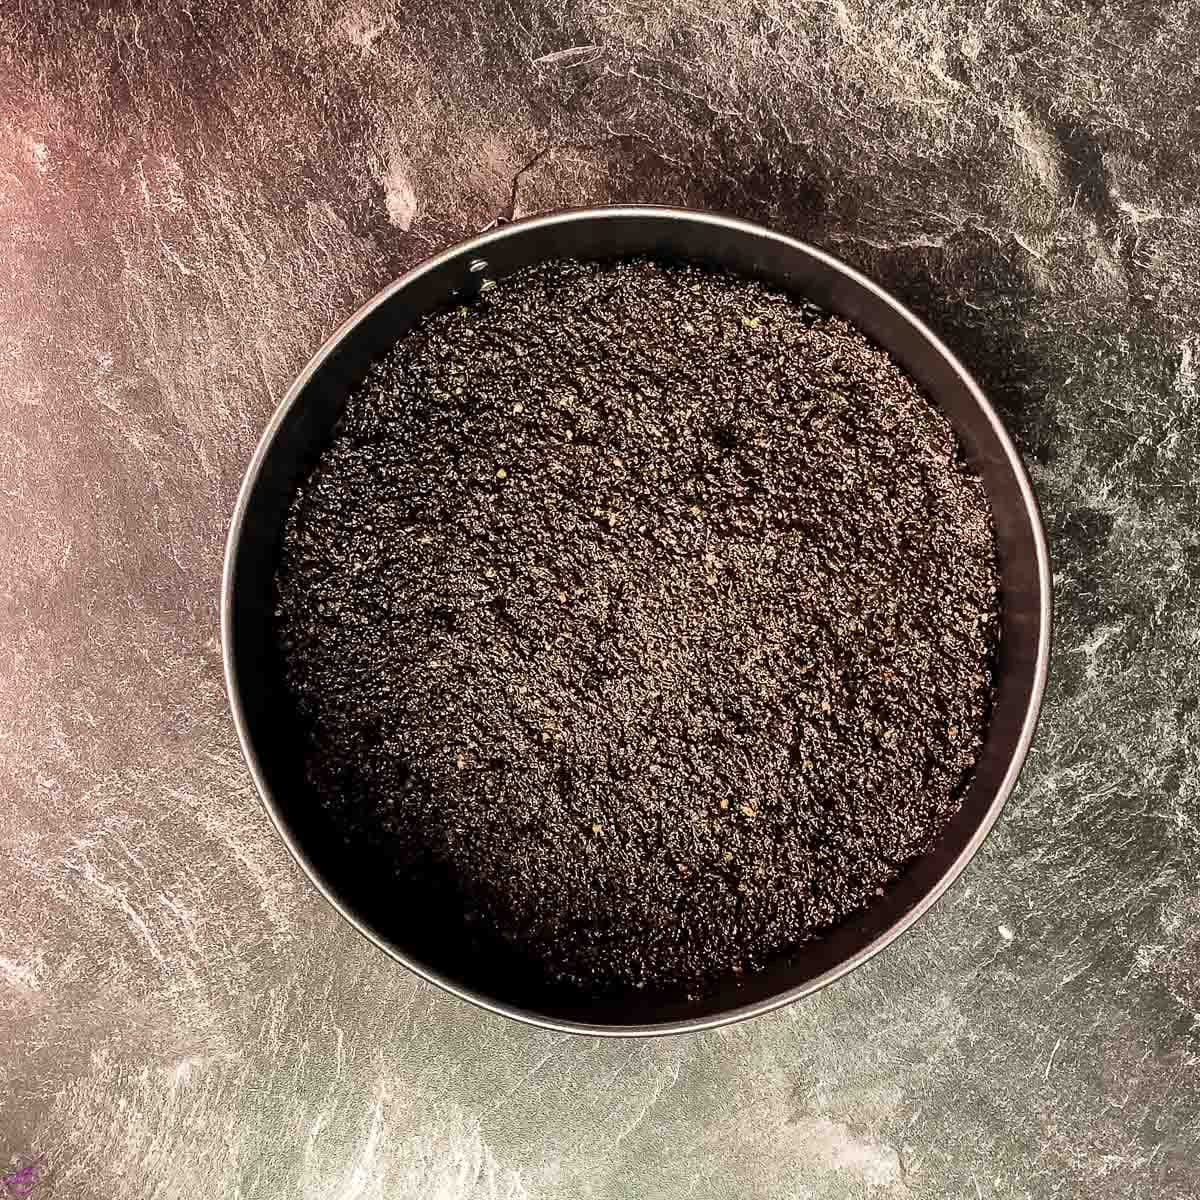
Place a piece of parchment paper on the bottom of the cake pan and brush it with the molten butter that we kept on the side. Next, sprinkle the corn starch on top, and shake the cake pan until it is evenly covered with corn starch. Be sure to get rid of the excess by turning it over afterward. The next simple, but important step is to place the pan in the refrigerator for 2-3 minutes. This way, the cut pieces will come out easily when the cake is finished.
Once the starch and butter dusting has cooled, pour the Oreo mix. Press firmly and evenly into the edges of the cake pan. Once the mix has been smoothly pressed, place the pan in the freezer for at least 15 minutes — or until you make the filling!
Strawberry Filling
In a large mixing bowl, mix all of your mascarpone cheese for 3-5 minutes until it softens. While mixing on medium speed, gradually add in your powdered sugar, followed by your vanilla extract and your rum. The last component you'll mix in is your cream cheese.
In a separate bowl, mix the whipping cream till it makes soft peaks on the mixer whisks.
From here, you'll gradually mix the cream cheese mixture and whipping cream together by hand in a circular motion.
After all the ingredients are mixed well, in a saucepan, add in the sugar, water, and fresh or frozen strawberries. Cook on medium heat until the sugar is completely dissolved and mix everything with a spatula, so you crush the strawberries.
Once the sugar has fully dissolved, and you're left with a jam-like strawberry mixture, combine it with the mascarpone and whipping cream. This step should also be done by hand, rather than with an electric mixer.
Next, take your pie crust out of the freezer, and pore in the strawberry filling. Spread it evenly with a spatula.
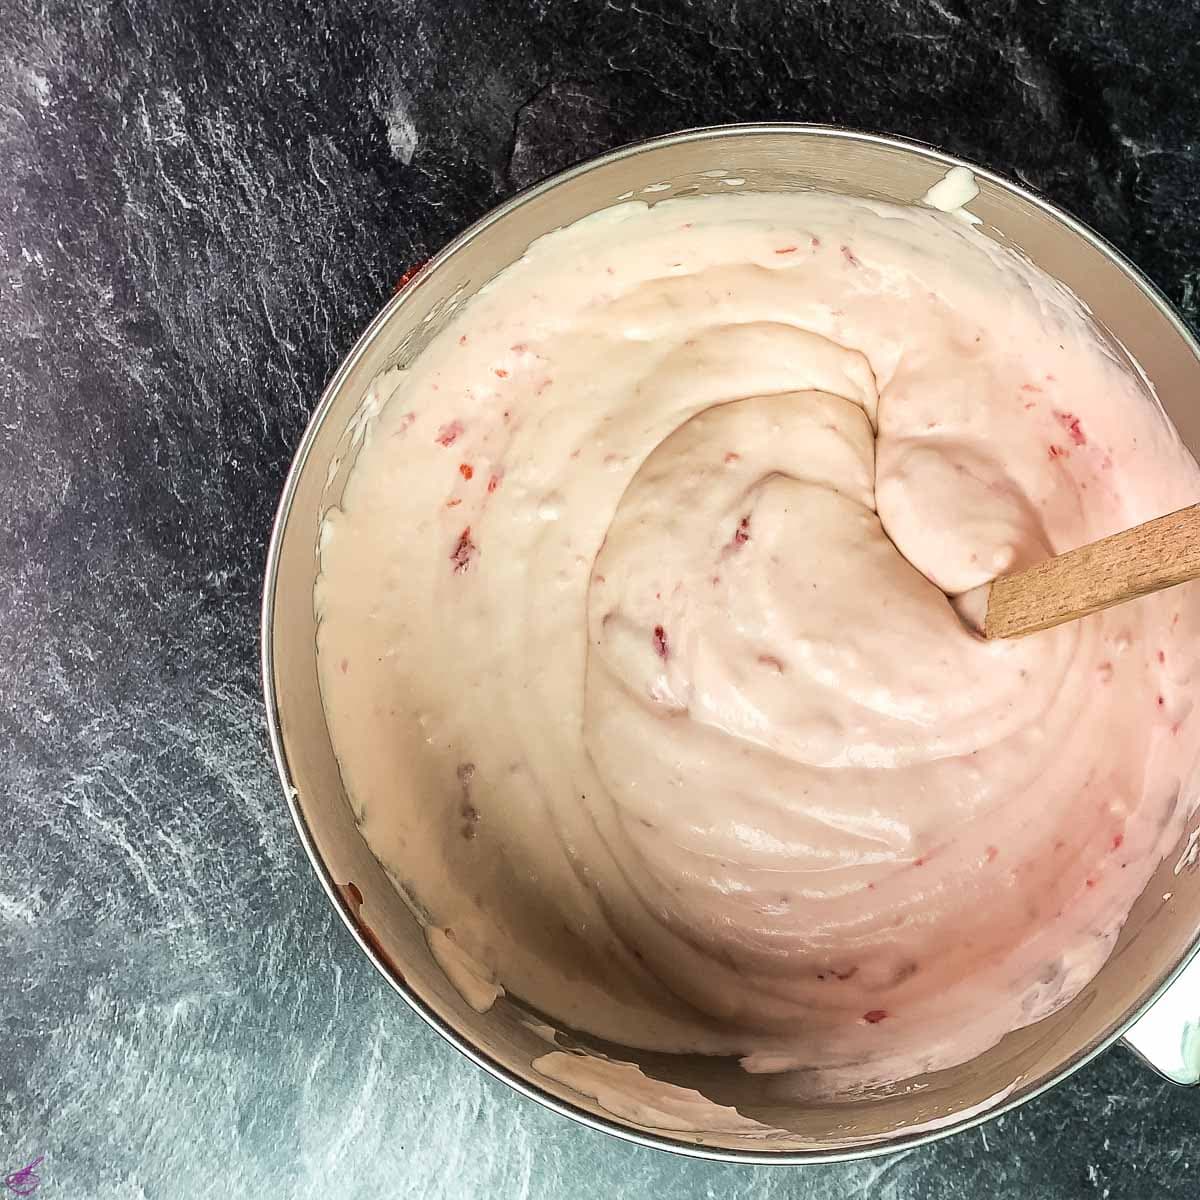

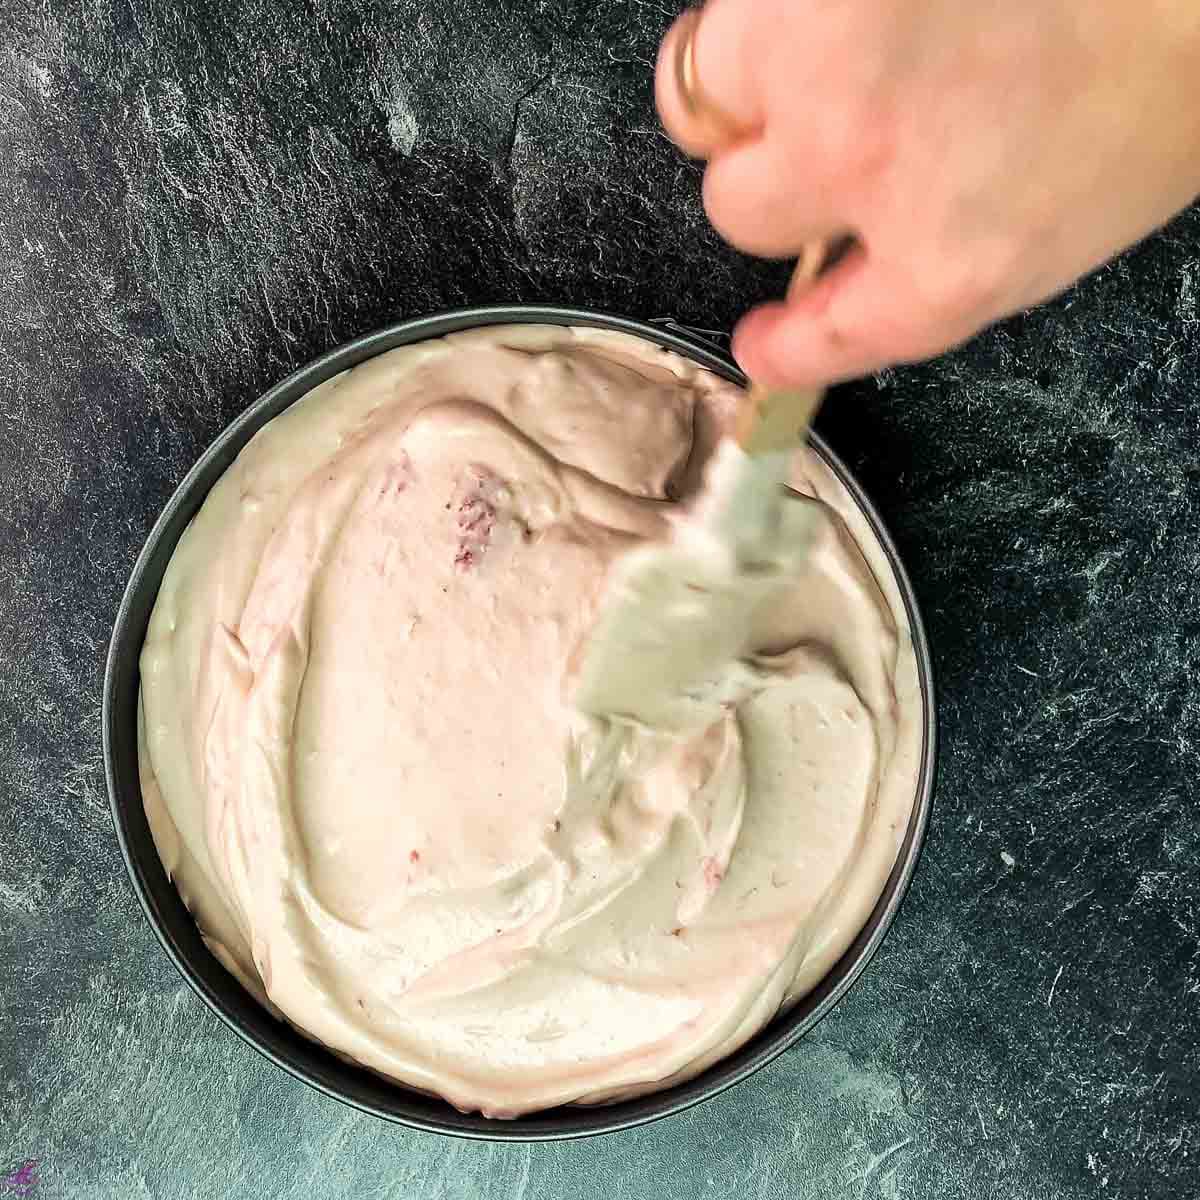
Once it's flat, you can go ahead and place cheesecake in the freezer. You'll need to keep it there for at least 3 hours, preferably overnight.
When the cake is hardened, use a blow torch, gas stove flame or a lighter to release the cheesecake from the cake pan by using the flame on the outside for a short interval of time.
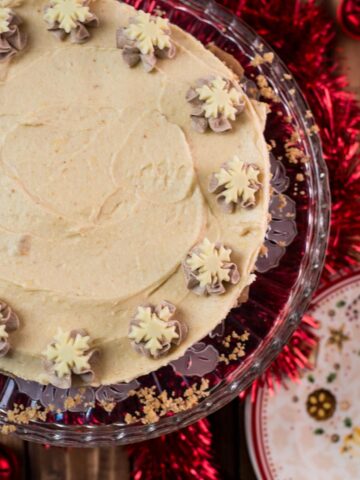
Once the cheesecake is defrosted and ready to be removed from the cake mold, you can decorate the cake with milk chocolate buttercream!
Now, all there's left to do is say, "Bon Appétit!"
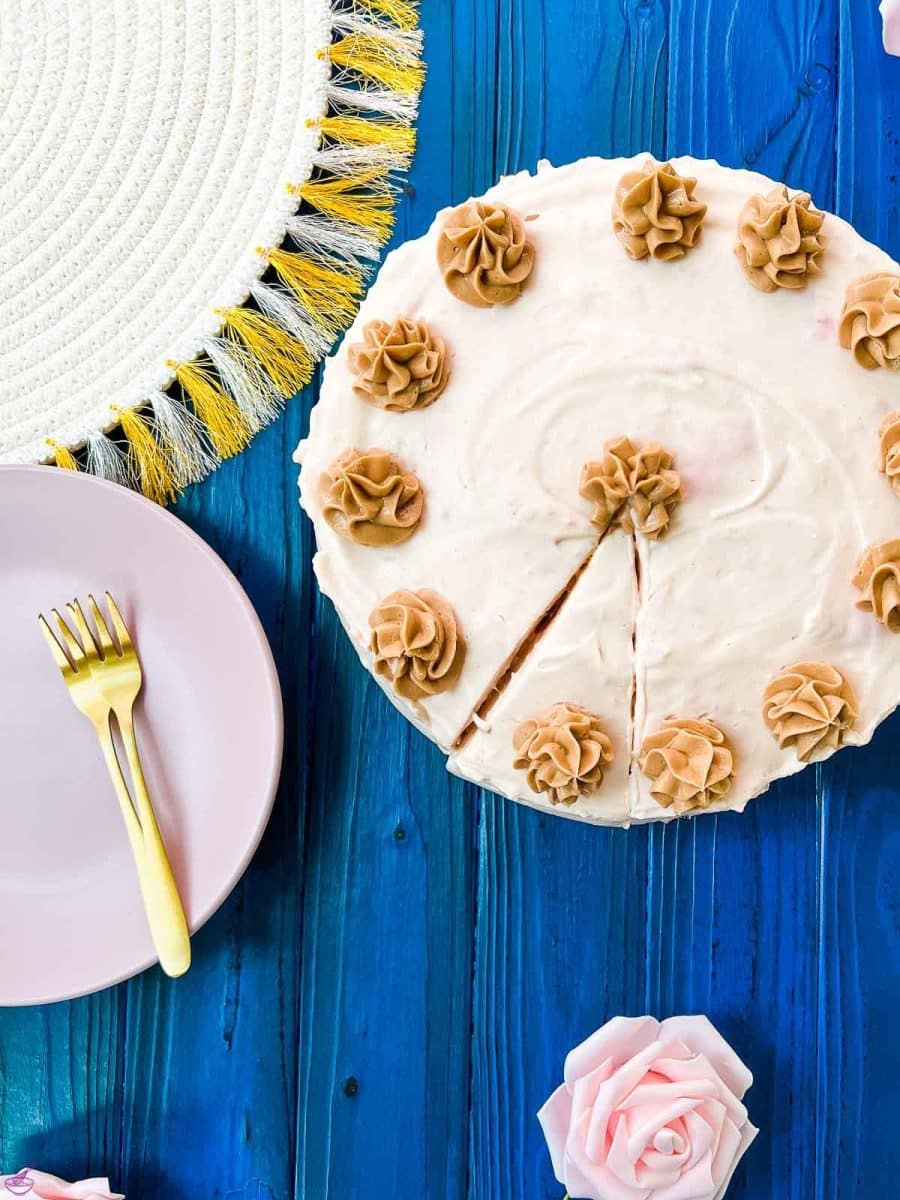
If you are a fan of strawberry cheesecake, try out these delicious strawberry cheesecake cookies for a change of pace!
🥜 Substitutions
If you want to make this sweet treat "kid friendly," the rum used for the cheesecake filling can be swapped out for strawberry juice.
And if you're making this recipe for anyone with a nut allergy, feel free to deviate when it comes to the crust, too! Instead of using a mixture of Oreo cookies and walnuts, you can go ahead and double down on the amount of cookie crumble used to prepare the crust.
Instead of chocolate cream cheese buttercream, you can also use one of our delicious flavored whipped cream creations.
- Coconut-flavored whipped cream
- Almond whipped cream
- Orange-flavored whipped cream
- Vodka-flavored whipped cream
- Irish Cream whipped cream
- Chocolate-flavored whipped cream
- Cinnamon-flavored whipped cream
- Strawberry-flavored whipped cream
🍑 Variations
If you're looking for a little more "razzle dazzle" that's sure to really blow your friends and family away when it comes to presentation, you can also garnish your strawberry cheesecake with fresh strawberries.
To prepare the garnish, start out by cutting up about a cup of fresh strawberries into slices. If it's going to be a while before your cheesecake comes out, I also recommend using gelatin to cover the strawberries. You can also help keep them fresh by putting the gelatin granules in the water and leaving them to hydrate for five minutes.
Once hydrated, melt the gelatin in a microwave on medium heat until completely dissolved, and brush it over the strawberries.
🍽 Equipment
- Hand or Stand Mixer
- Spatula
- Saucepan
- Mixing bowl
- Whisk
- Parchment Paper
- 12-inch/30-cm Cake Pan (springform pan)
🌡 Storage
This delicious, no-bake strawberry cheesecake recipe makes 16 - 20 servings, so if you need to store any leftovers, be sure to cover and store your sweet treat in the fridge properly.
You'll have a few days to finish off any leftovers, though. This cheesecake will keep in the fridge for 3 - 5 days.
🙋🏻 FAQ
That all comes down to preference! One of the main differences between a baked cheesecake and a no-bake cheesecake – besides the fact that one of them doesn't go in the oven – is the use of eggs. A no-bake cheesecake does not use any eggs, and is dependent on getting its texture from time spent chilling in the refrigerator or freezer.
Some people argue that baked cheesecakes are superior because of their dense, fluffy texture, but I'd make the case that each sweet dessert is delicious in its own right. I'm also a big fan of no-bake cheesecakes because you don't have to wait for it to cool completely after you cook it.
If your cheesecake still isn't firm, chances are you most likely haven't kept it in the fridge long enough! You'll need to keep it in the fridge for at least several hours, but personally, I usually prepare my cheesecakes the night before, so they have plenty of time to get nice and firm.
Not all cheesecakes need to be baked, but in order to get the perfect texture, you’ll need to put your no bake cheesecake in the freezer for at least three hours – but preferably overnight! If you skip this crucial step, or cut short on the time need, your cheesecake will be more like a cheesecake pudding mix.
If you've already followed this crucial step in the past and are still looking to thicken up your no bake cheesecakes, you can also add a touch of gelatin when preparing the filling.
A no-bake cheesecake recipe really means you don’t need to bake a thing! You won't need to pop anything in the oven or let things cool on a wire rack. You don’t need to buy a pre-baked crust, either. Everything can be prepped on your kitchen counter. The only thing you’ll need to do to get the perfect texture is pop it in the freezer for the right amount of time. If you can, try to refrigerate overnight.
You'll need to cover your cheesecake in Serah Wrap or aluminum foil before placing it in the fridge to set!
Fancy more delicious no-bake cheesecake recipes?
- No-bake Ricotta Cheesecake
- No-bake Pumpkin Cheesecake
- No-bake White Chocolate Raspberry Cheesecake {Halloween}
- No-bake Fig Cheesecake {in a Jar}
- Patriotic 4th of July no-bake Cheesecake
- No-bake Mint Cheesecake
- No-bake Eggnog Cheesecake
- 5 ingredient mini Oreo Cheesecakes
If you make this recipe, let me know how you liked it by ★★★★★ star rating it and leaving a comment below. This would be awesome! You can also sign up for our Newsletter or follow me on Pinterest or Instagram and share your creation with me. Just tag me @combinegoodflavors and hashtag #combinegoodflavors, so I don't miss it.
📖 Recipe

No-bake Strawberry Cheesecake with Oreo Crust
Equipment
- Hand mixer or stand mixer
- Small sauce pan
- Springform pan 12-inch/30-cm
Ingredients
For the crust
- 28 Oreo biscuits
- 5 oz Butter
- ¼ cup Whole milk
- 2 oz Walnut ground
- 1 tablespoon Corn starch
For the cheesecake filling
- 25 oz Mascarpone
- 15 oz Cream cheese
- 1 ⅛ cup Whipping cream
- ¾ cup Icing sugar
- 10 oz Strawberry
- 1 teaspoon Vanilla extract
- 8 teaspoon Rum
- ¼ cup Water
- ½ cup Sugar
Instructions
Oreo Crust
- Crush the 28 Oreo biscuits and 2 oz Walnuts with a rolling pin once you put them in a plastic bag.28 Oreo biscuits, 2 oz Walnut
- Place the 5 oz Butter and ¼ cup Whole milk in a microwave safe dish and heat it on medium setting in your microwave until the butter is completely molten.5 oz Butter, ¼ cup Whole milk
- Save 2 tbsp. on the side and mix the rest of the butter and milk with the crushed Oreo biscuits and walnuts.
- Mix until all the crumbs are mixed well with the butter.
- Put parchment paper on the bottom of the cake pan and brush it with the molten butter that kept on the side.
- Sprinkle 1 tablespoon Corn starch on top of the paper and shake the cake pan until it is evenly covered with corn starch and get rid of the excess by turning it over. Place the pan in the fridge for 2-3 minutes.1 tablespoon Corn starch
- Once the starch and butter dusting is cooled, pour the Oreo mix on top of it and tightly press it evenly till the edges of the cake pan.
- Once smoothly pressed, place it in the freezer for at least 15 minutes (or until you make the filling).
Strawberry filling
- In one mixing bowl, add all 25 oz Mascarpone and mix it with a mixer for 3-5 minutes until it softens.25 oz Mascarpone
- While mixing gradually add ¾ cup Icing sugar to the mascarpone, as well add 1 teaspoon Vanilla extract, 8 teaspoon Rum and after that 15 oz Cream cheese.15 oz Cream cheese, 1 teaspoon Vanilla extract, 8 teaspoon Rum
- In another bowl mix 1 ⅛ cup Whipping cream till it makes soft peaks on the mixer whisks.1 ⅛ cup Whipping cream
- Gradually mix the mascarpone mix and whipping cream by hand with circling movements.
- Next add in a small sauce pan ½ cup Sugar, ¼ cup Water and frozen or fresh 10 oz Strawberry.¾ cup Icing sugar, 10 oz Strawberry, ¼ cup Water, ½ cup Sugar
- Cook on medium heat until the sugar is completely dissolved and mix everything with a spatula, so you crush the strawberries.
- Once done, combine the strawberry jam and crushed strawberries with the mascarpone and whipping cream by hand.
- Take out the cake pan with the crust out of the freezer, and put the strawberry filling on it.
- Spread it evenly with a spatula, and once you make a flat surface, put the cheesecake in the freezer for at least 3 hours (preferably overnight).
- When the cake is hardened, release the cheesecake from the cake pan.
- Now the cake is ready to be unmolded.
- Once unfrozen, decorate the cake with Milk Chocolate cream cheese buttercream decor or fresh strawberries.Milk Chocolate cream cheese buttercream decor
Nutrition values are estimates only, using online calculators. Please verify using your own data.

⛑️ Food Safety
- Cook to a minimum temperature of 165 °F (74 °C)
- Do not use the same utensils on cooked food, that previously touched raw meat
- Wash hands after touching raw meat
- Don't leave food sitting out at room temperature for extended periods
- Never leave cooking food unattended
- Use oils with high smoking point to avoid harmful compounds
- Always have good ventilation when using a gas stove
For further information, check Safe Food Handling - FDA.











Linda says
Mascarpone cheesecake is my current addiction, especially now that we have all-summer weather. It's my late-night snack when kids are asleep