There’re some desserts that just taste better with a decorative addition of chocolate cream cheese buttercream! In some recipes, like this flourless chocolate cake or an amazing no bake strawberry cheesecake, it’s often the perfect finishing note!
And while going out of your way to make your own cream cheese buttercream might sound like a hassle, this super simple and sweet recipe will be ready in minutes.
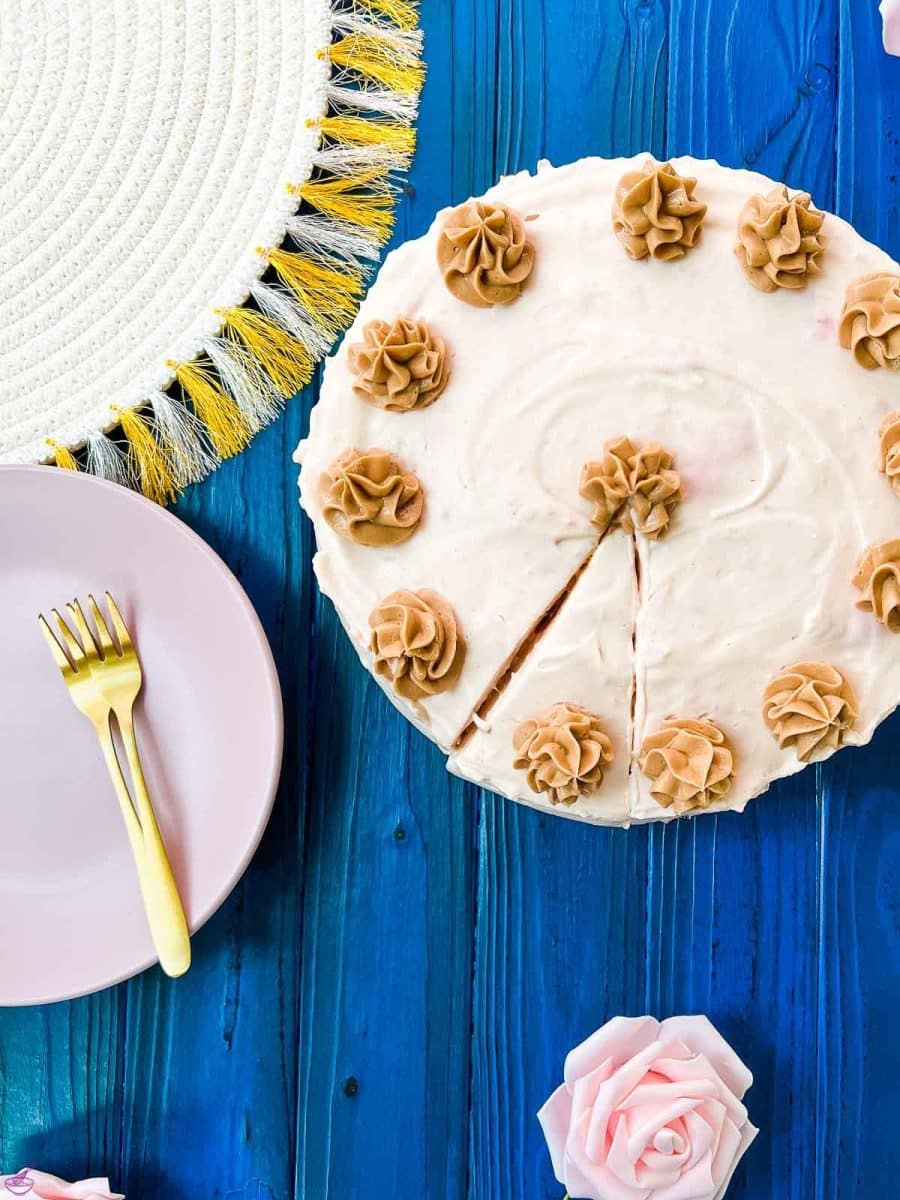
In addition to its wonderfully intense flavoring, it also has a wonderful, firm consistency that really allows you to flex your creative muscles when it comes time to decorate!
Its firm texture makes it the perfect recipe to break out for birthdays and other festive celebrations, when you want to add a few extra little touches for your loved ones.
Jump to:
🥘 Ingredients
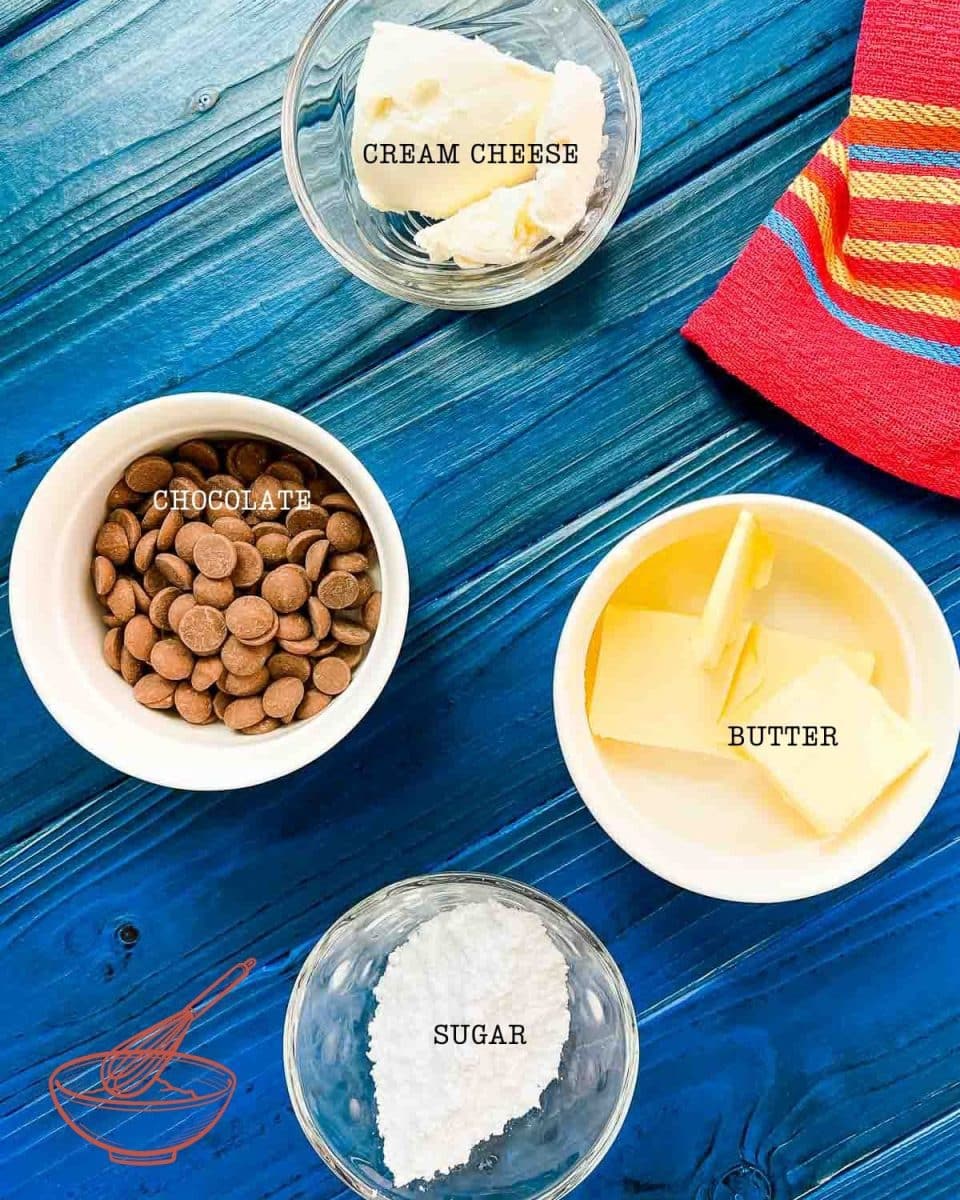
- Chocolate Couverture - Dark and Milk Chocolate both work great! Just be sure to use high quality!
- Cream Cheese
- Unsalted Butter
- Powdered Sugar
See the recipe card for quantities.
🔪 Instructions
The first thing you’ll need to do is melt the chocolate in a water bath or tempering device.
Water bath: If you use a water bath for melting, you need two pots of different sizes. Fill one pot 3-4 finger-widths with water and place the second, smaller pot in it. The second pot should not touch the water! Now put the chocolate to be melted into the upper, smaller pot and melt it over moderate heat while stirring over the rising steam.
Tempering unit: Add the chocolate to be melted to the tempering unit and set it to the appropriate melting temperature. White and milk chocolate: 40 °C // 104 °F, dark chocolate 50 °C // 122 °F.
After the chocolate has completely melted, you’ll need to allow at least 10 minutes for it to cool.
Next, go ahead and whip up all the other ingredients — the cream cheese, the soft, unsalted butter, and the powdered sugar — with the melted chocolate.
Personally, I like using a paddle attachment for my KitchenAid at medium speed.
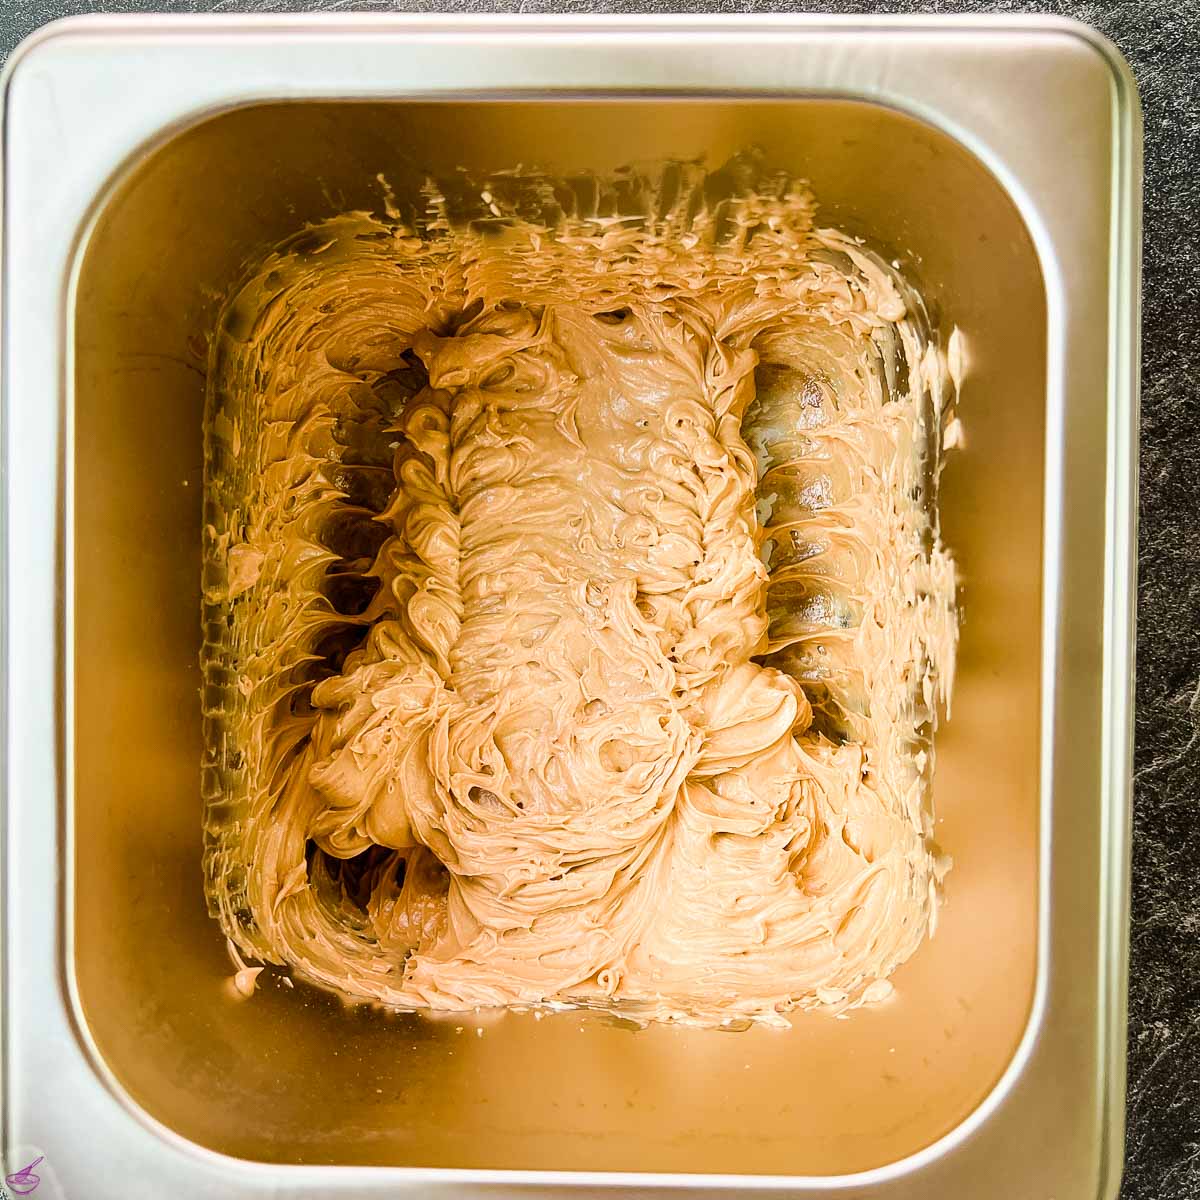
Once you’ve achieved a nice, fully mixed consistency, you can scrape the buttercream out of your bowl and into a piping bag. Personally, I prefer the star nozzle when I’m decorating my cakes, but feel free to improvise!
🍽 Equipment
- To melt the chocolate, use a water bath or tempering device.
- Electric Mixer — personally, I use a Kitchen Aid
- Spatula
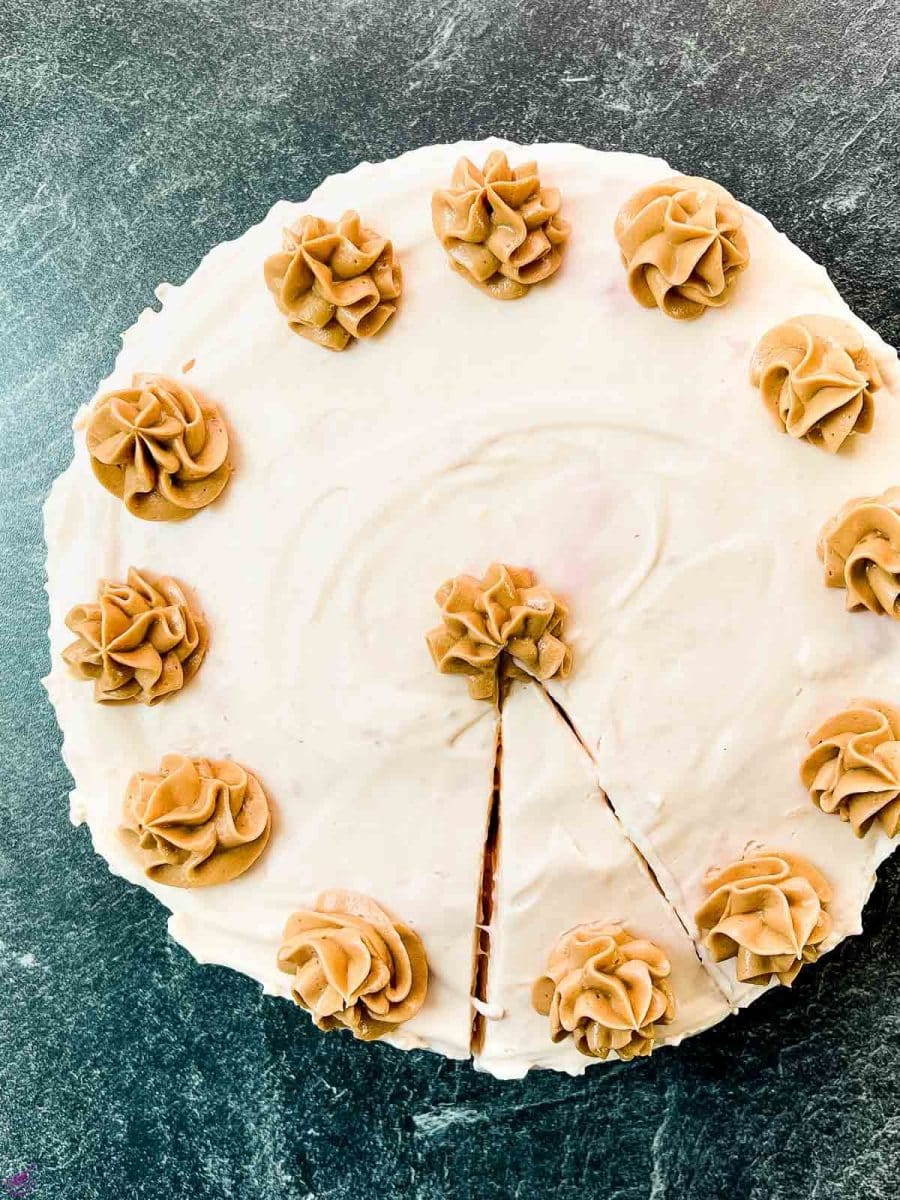
- For decorating the cake, use a piping bag with a star tip (or other fun nozzle attachment!)
🌡 Storage
After you’ve decorated your desserts with this delicious chocolate cream cheese buttercream, any leftover frosting will stay good in the fridge (in an airtight container), for up to two weeks.
If you’ve decorated a dessert and are planning to chauffeur your tasty treats to a party, don’t keep it out of the fridge for more than two hours.
🙋🏻 FAQ
The main difference between cream cheese frosting and buttercream is the primary ingredient being used! You can probably guess that cream cheese frosting uses cream cheese, whereas buttercream uses butter! This recipe is something of a hybrid, since it combines both components.
The question of which is better all comes down to preference! Some people absolutely love cream cheese frosting, especially on red velvet cupcakes, where others absolutely loathe it. Personally, I’m a big fan of both, and this chocolate cream cheese buttercream gives you the best of both worlds.
If you want to stiffen up your cream cheese buttercream a little bit more before piping on your designs, throw it in the fridge for 10-15 minutes.
Yes! You should always refrigerate cream cheese — whether it's part of this buttercream recipe or still a whole block — in an airtight container or sealing.
Other Recipes you'll Love
- Sour Cream Cookies with Pearl Sugar
- Orange-flavored Whipped Cream
- Chocolate-flavored Whipped Cream
- Strawberry-flavored Whipped Cream
- Best No-Bake Chocolate Ricotta Cheesecake
- Best Homemade Vanilla Ice Cream Recipe
- No-Bake Pumpkin Cheesecake
- Dark Chocolate Mousse with Heavy Cream {Gluten-Free}
If you make this recipe, let me know how you liked it by ★★★★★ star rating it and leaving a comment below. This would be awesome! You can also sign up for our Newsletter or follow me on Pinterest or Instagram and share your creation with me. Just tag me @combinegoodflavors and hashtag #combinegoodflavors, so I don't miss it.
📖 Recipe
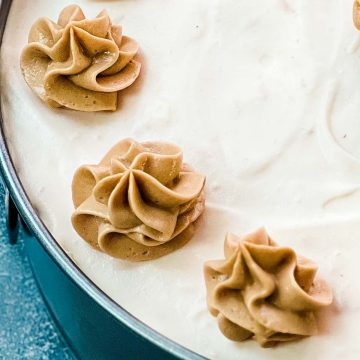
Chocolate Cream Cheese Buttercream
Equipment
- Water bath or tempering device
- Piping bag with star tip
Ingredients
- ½ cup Chocolate couverture hight quality!
- ¼ cup Cream cheese
- 3 tablespoon Butter unsalted, soft
- ¼ cup Powdered sugar
Instructions
- Melt the chocolate in a water bath or tempering device.½ cup Chocolate couverture
- After melting, allow the melted chocolate to cool for 10 minutes.
- Then whip all the ingredients together.¼ cup Cream cheese, 3 tablespoon Butter, ¼ cup Powdered sugar, ½ cup Chocolate couverture
- Fill into a piping bag with a star nozzle and decorate the cake.
Notes
Nutrition values are estimates only, using online calculators. Please verify using your own data.

⛑️ Food Safety
- Cook to a minimum temperature of 165 °F (74 °C)
- Do not use the same utensils on cooked food, that previously touched raw meat
- Wash hands after touching raw meat
- Don't leave food sitting out at room temperature for extended periods
- Never leave cooking food unattended
- Use oils with high smoking point to avoid harmful compounds
- Always have good ventilation when using a gas stove
For further information, check Safe Food Handling - FDA.











Stephanie says
This is an excellent Cream Cheese buttercream recipe with chocolate. I had never used a technique such as this to create a buttercream. It turned out silky smooth, not overly sweet and pipes beautifully! Pinning this for future desserts!
Natalie Perry says
This recipe is divine and so easy to follow! I am a novice baker and I think I still did a decent job, thanks to your recipe! I will keep practicing and look forward to trying your next recipe. Thank you!
Audrey says
Such an easy and delish frosting recipe!
Mary says
Two of my favorite things, cream cheese frosting and buttercream frosting, all in one. I don't have anything to top with this at the moment, and I would eat it with a spoon so I will bookmark for later!
Helen at the Lazy Gastronome says
This looks so easy! I’ve pinned it to use with my next cake!!