Chocolate Chip Vanilla Ice Cream

There’s something undeniably special about making your own ice cream at home! Don’t get me wrong, I love perusing the endless flavor options at the grocery store, or going out for ice cream with my family, but personally, I think it just tastes better when you make it yourself!
This delicious, chocolate chip vanilla ice cream recipe is the perfect complement to any dessert!
I love pairing it with my Ultimate Double Chocolate Bundt Cake, or my No-Bake Chocolate Ricotta Cheesecake. It’s the perfect sidekick to so many great desserts, but this tasty treat can easily serve as the star of the show, too!

It’s the perfect treat on a hot summer day, but it also tastes great during the colder months — especially when paired with leftover Christmas chocolates or leftover chocolate Easter Bunnies.
You’ll this recipe for its wonderful, intense vanilla flavor, and the quick and easy prep time! The hardest part of this recipe will be waiting for your homemade chocolate chip vanilla ice cream to cool!
Looking for more chocolate chip recipes? Then try our scrumptious Chocolate Chip Ricotta Loaf Cake and Chocolate Chip Cookies with Chestnut Flour recipes!
🥘 Ingredients
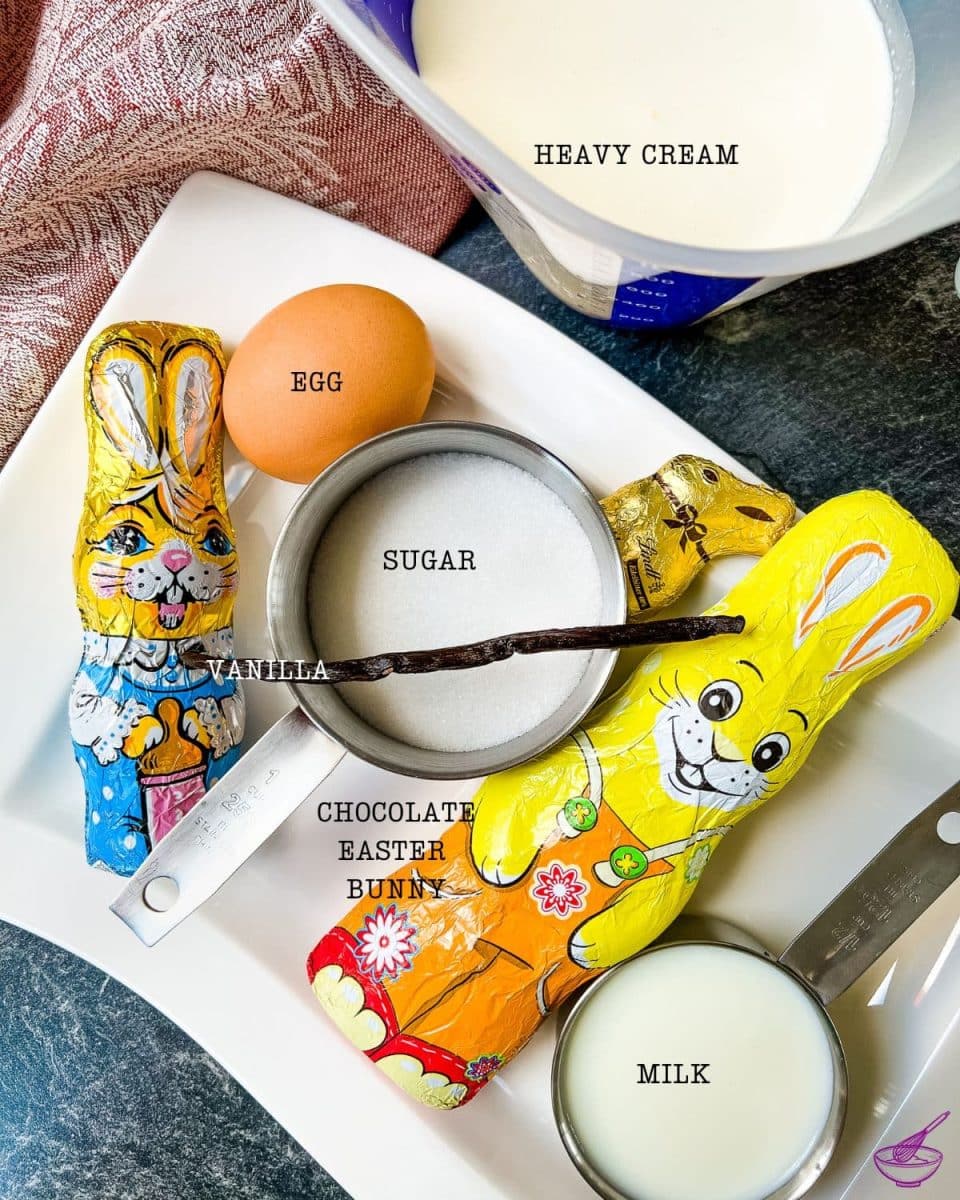
- Whole Milk — You’ll want to stay away from 2% milks and dairy alternatives in order to get the best results and consistency!
- Whipped Cream — You’ll also want to stay away from reduced-fat creams!
- Vanilla Bean
- Salt
- Egg
- Sugar
- Chocolate Chips — Dark Chocolate & Milke Chocolate both work great! If you have any leftover chocolate Easter Bunnies left over, those are perfect!
See the recipe card for quantities.
🔪 Instructions
The first thing you’ll need to do is cut your vanilla bean lengthwise and scrape out the pulp. That will help give the ice cream its wonderful, intense vanilla flavor!
Next, you’ll want to heat up the whipping cream and the milk in a saucepan. Go ahead and add your scraped out vanilla pulp, plus the scraped-out pod, into the saucepan. It’s very important that you don’t bring the pan to a boil!
Once the saucepan has heated up, allow to cool. After it’s had time to cool, you’ll need to cover the pan before placing it in the refrigerator for three hours to chill.
After three hours have passed, remove the vanilla bean. Next you’ll need to add your egg, sugar and salt to the cold mixture and mix well. You can do this by hand with a whisk or in a food processor with whisk attachment.
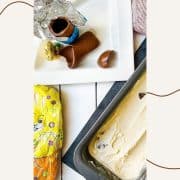
If you’re using your leftover chocolate Easter Bunnies, start breaking them into small pieces.

If you don’t have any leftovers hanging around, though, feel free to use store bought chocolate chips. Place your chocolate pieces in a bowl and set aside.
Now that that’s all taken care of, you’ll can start to prepare your ice cream maker! We use the ice cream maker from Kitchen Aid. Here, all you need to do is remove the ice cream maker bowl from the freezer, which was frozen in advance, and insert it. Then, fill the bowl with your prepared vanilla milk mixture.
After filling, insert the dasher and turn on to level two.
Leave to mix in the ice cream maker for 15-20 minutes.
Shortly before the end of that freezing time, though, go ahead and add the broken Easter Bunny or Chocolate Chips!
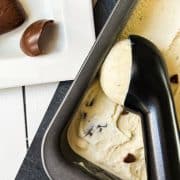
Once the ice cream is ready, pour into a suitable storage container and freeze.
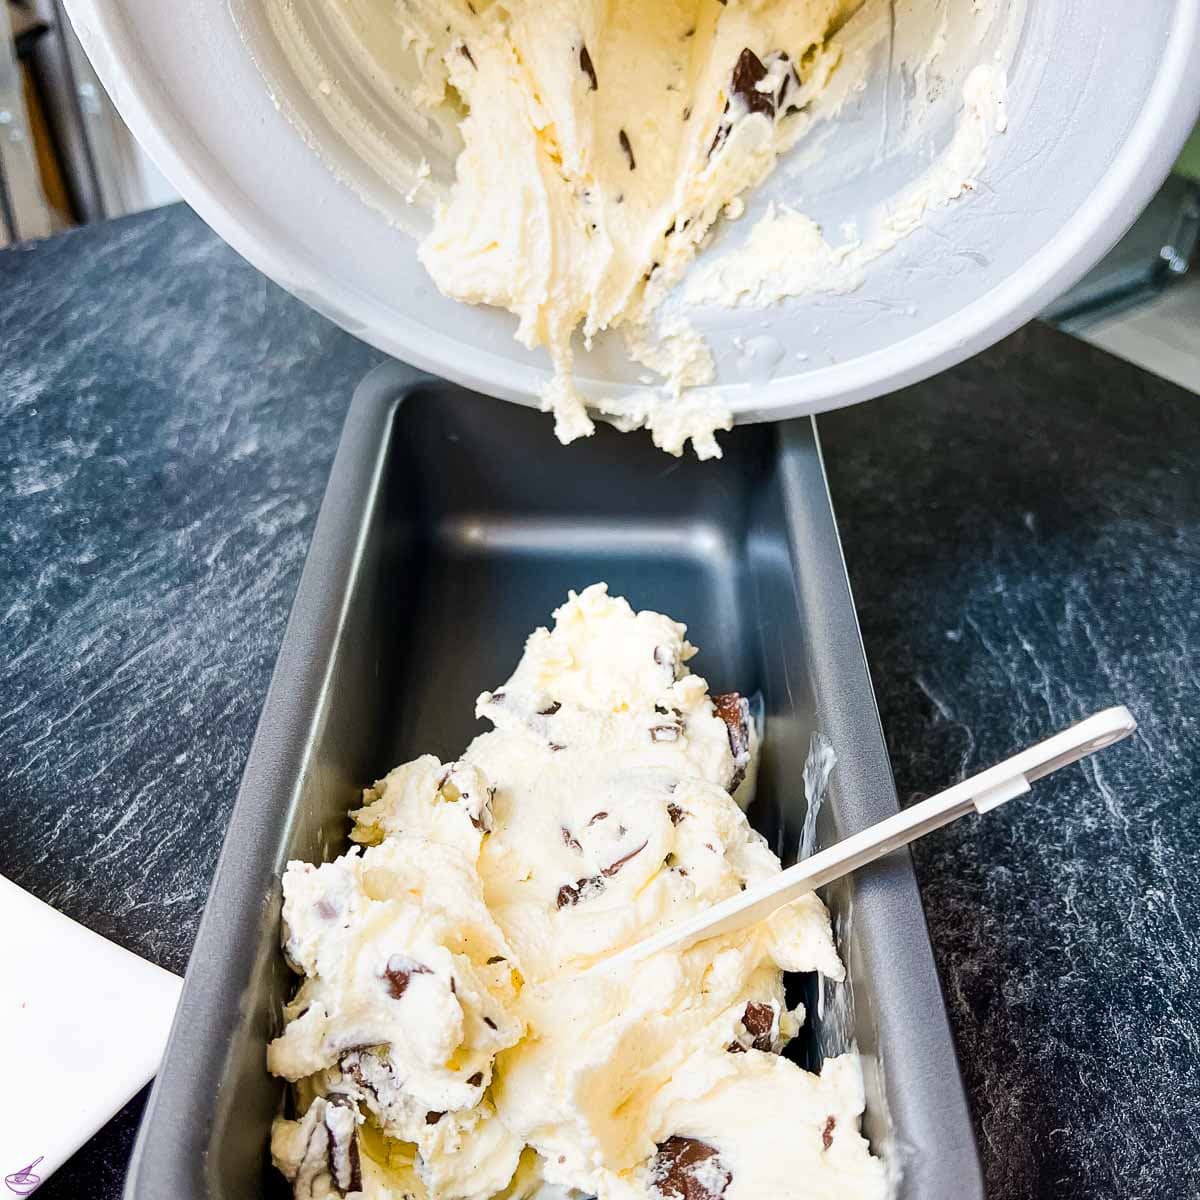
Or you can scoop it directly into your dessert bowls and serve!
Finally, grab a spoon and say Bon Appetit!

🍑 Variations
When it comes to what kinds of chocolates you want to enjoy with your vanilla ice cream, you have a lot of wiggle room in this recipe to experiment! Do you want to use milk chocolate, dark chocolate, white chocolate, or even a combination of all three? Knock yourself out! Personally, I enjoy adding ROLO pieces into mine!
🍽 Equipment
- Ice Cream Maker (we love our KitchenAid ice cream attachment)
- Saucepan
- Spatula
- Container for homemade ice cream or a loaf pan
🌡 Storage
By chance, if you have any leftovers you need to store, you’ll want to put them in a suitable storage container before placing it in your freezer.
Unlike store-bought ice cream that seems to last for months and months on end, you’ll only have about two weeks to enjoy your homemade chocolate chip vanilla ice cream.
💭 Top tips
There’s a few pieces of advice you’ll really want to heed if you want your homemade ice cream to come out perfect;
One is to use REAL, fresh vanilla bean! If you skimp out on this step, your ice cream won’t pack the same delicious, intense flavor.
The other, really important piece of advice I can’t stress enough is to use whole milk and full-fat whipping cream! If you use low-fat dairy products, you might end up with watery ice cream. The full-fat dairy products help you achieve the ideal consistency!
Check out these Ninja Creami Recipes for more delicious ice cream recipes, made with the NINJA Creami Ice Cream Maker!
🙋🏻 FAQ
Because you’re using whole, unprocessed ingredients (for the most part) in this recipe, your homemade ice cream isn’t going to have the same long-lasting shelf life as the ice cream cartons you buy at the supermarket. Whatever you don’t finish right away, place in a suitable storage container, like a Pyrex, and store it in your freezer. You’ll want to be sure to finish off those leftovers within two weeks, though!
Personally, I like to take my leftover chocolates (or chocolate bars, if I’ve already used up all my leftovers for other fun recipes), and chop them into chunks. You don’t need to worry about all the pieces being identical in shape or size! If you’re not a fan of biting into hard chocolate, though, you can also melt down your chocolate and add in a little bit of water before waiting for it to harden a little and chopping it up. Adding the water can help make each of the chocolate pieces a little softer and skinnier.
There’s a lot of great ice cream makers on the market, but personally, I use my Kitchen Aid with an ice cream maker attachment. It’s always worked great for me, and I highly recommend it, but feel free to peruse the web for other options if you don’t already have a Kitchen Aid in your home.
Other Recipes You’ll Love
Vanilla Bean Ice Cream Pancakes
Eggnog Cheesecake with Gingerbread Spiced Crust
Dark Chocolate Mouse with Heavy Cream
Best Homemade Vanilla Ice Cream Recipe
now available!
My new workbook is here!
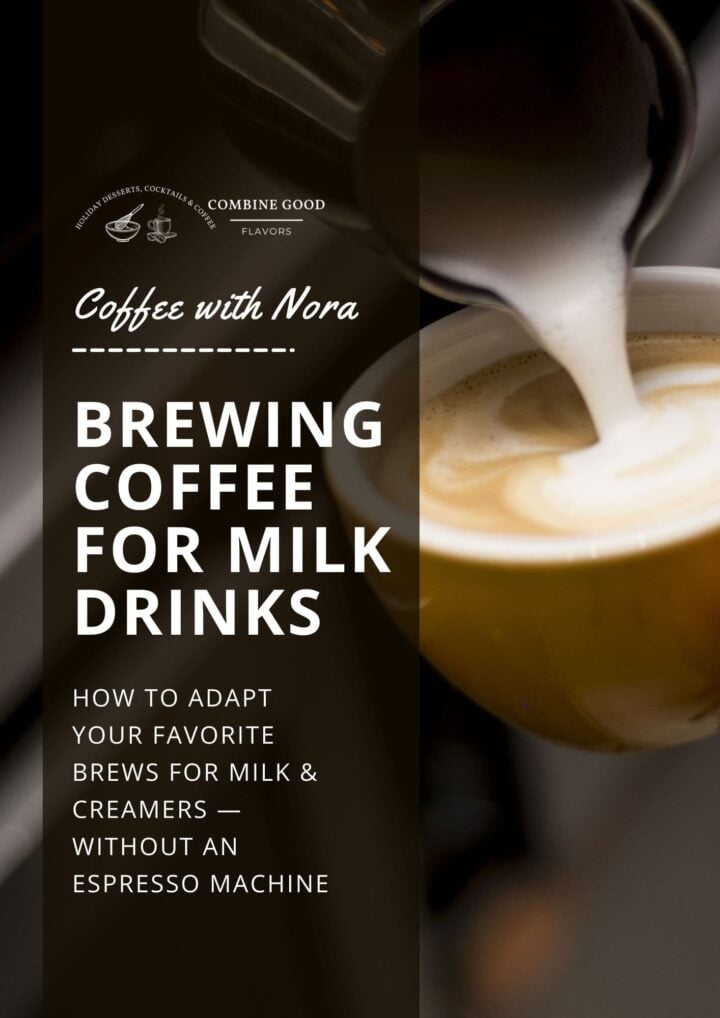
Brewing Coffee for Milk Drinks
How to adapt your favorite brews for milk & creamers — without an espresso machine!
If you make this recipe, let me know how you liked it by ★★★★★ star rating it and leaving a comment below. This would be awesome! You can also sign up for our Newsletter or follow me on Pinterest or Instagram and share your creation with me. Just tag me @combinegoodflavors and hashtag #combinegoodflavors, so I don’t miss it.
Chocolate Chip Ice Cream

Equipment
- Saucepan
- Container for homemade ice cream
Ingredients
- ½ cup Whole milk
- 1 ½ cup Whipped cream
- 1 Vanilla bean
- 1 Pinch Salt
- 1 Egg
- 6 ¼ tbsp Sugar
- ¾ cup Easter bunnies
Instructions
- Cut the vanilla bean lengthwise and scrape out the pulp.1 Vanilla bean
- Heat the whipping cream with the milk, then add the scraped out vanilla pulp plus the scraped out pod in a saucepan. Please do not boil!1 ½ cup Whipped cream, ½ cup Whole milk
- Allow to cool.
- Then cover and chill in the refrigerator for three hours.
- After the three-hour cooling is over, remove the vanilla bean.
- Add egg, sugar and salt to the cold mixture and mix well. You can do this by hand with a whisk or with a food processor (with whisk attachment).1 Egg, 6 ¼ tbsp Sugar, 1 Pinch Salt
- Break the chocolate of the Easter bunnies (that you are going to reprocess here with the recipe) into small pieces, place them in a bowl and set aside.¾ cup Easter bunnies
- Prepare the ice cream maker: We use the ice cream maker from Kitchenaid. Here, all you need to do is remove the ice cream maker bowl from the freezer, which was frozen in advance, and insert it. Then fill with the prepared vanilla milk mixture.
- After filling, insert the dasher and turn on to level two. Leave to mix in the ice cream maker for 15-20 minutes.
- Shortly before the end of the freezing time, add the broken Easter bunny chocolate pieces.
- Once the ice cream is ready, pour into a suitable storage container and freeze or directly onto dessert bowls and serve!
Nutrition
🤎 You might also like
⛑️ Food Safety
- Cook to a minimum temperature of 165 °F (74 °C)
- Do not use the same utensils on cooked food, that previously touched raw meat
- Wash hands after touching raw meat
- Don’t leave food sitting out at room temperature for extended periods
- Never leave cooking food unattended
- Use oils with high smoking point to avoid harmful compounds
- Always have good ventilation when using a gas stove
For further information, check Safe Food Handling – FDA.


Yes!! Finally a recipe that is easy and so delicious.
Thank you so much for sharing.