Homemade Vanilla Ice Cream Recipe
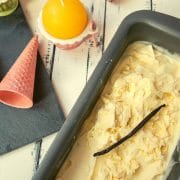


Homemade vanilla ice cream is the best thing you can have at home, especially on a hot day! This particular one is the best homemade ice cream you’ll ever have!
A handy basic recipe from which you can also make other flavors of ice cream.
And with this fantastic copycat vanilla ice cream recipe from KitchenAid, you’ll be at the top of your game!
Why you’ll love this KitchenAid Vanilla Ice cream
This remarkable vanilla ice cream is quick and easy to prepare with your KitchenAid Ice cream Attachment!
Its creamy consistency, the distinctly intense, and, at the same time, delightful vanilla ice cream flavor will make your heart beat faster!
A joy for allergy sufferers! This gelato is fructose-free and gluten-free!
Now you’ll always have delicious ice at home that you can use to make or refine other desserts!
You might wanna
- Spoon your homemade vanilla ice cream in a cup with whipped cream and chocolate sauce,
- mix it into a delicious iced coffee,
- create a delicious milkshake,
- or use it as a filling for original Austrian ice cream pancakes.
🥘 Ingredients
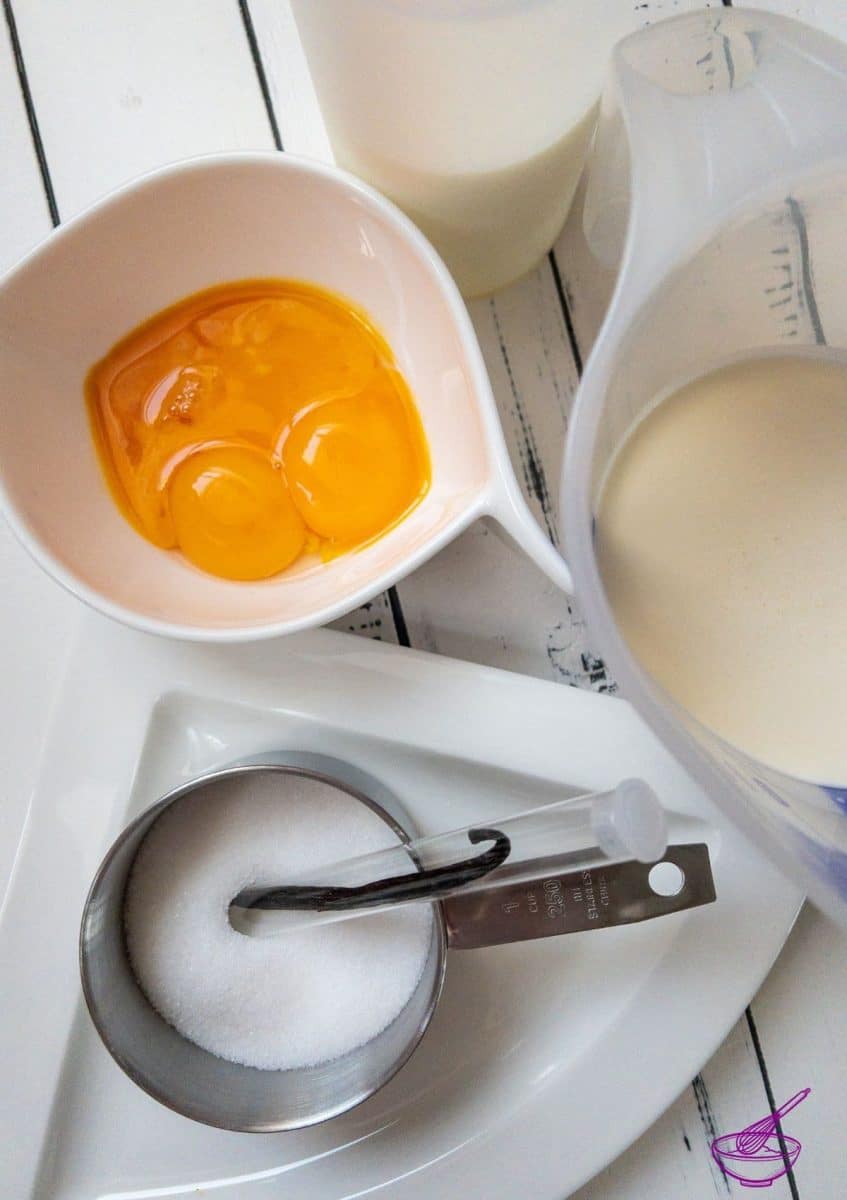
- Vanilla bean (fresh) – using vanilla extract is not recommended in this recipe
- Milk – high percentage of fat
- Egg yolk – save or freeze the leftover egg whites. You can use them later for cake, cookies, or a delicious pavlova!
- Granulated sugar
- Heavy cream – with a high percentage of fat! Please don’t use a skinny one!
See the recipe card for quantities.
🔪 Instructions
Step 1
Take a cutting board and a sharp knife and cut the vanilla bean lengthwise. Carefully scrape out the seeds.
Then place the seeds and the pod in a small saucepan and pour in the milk.
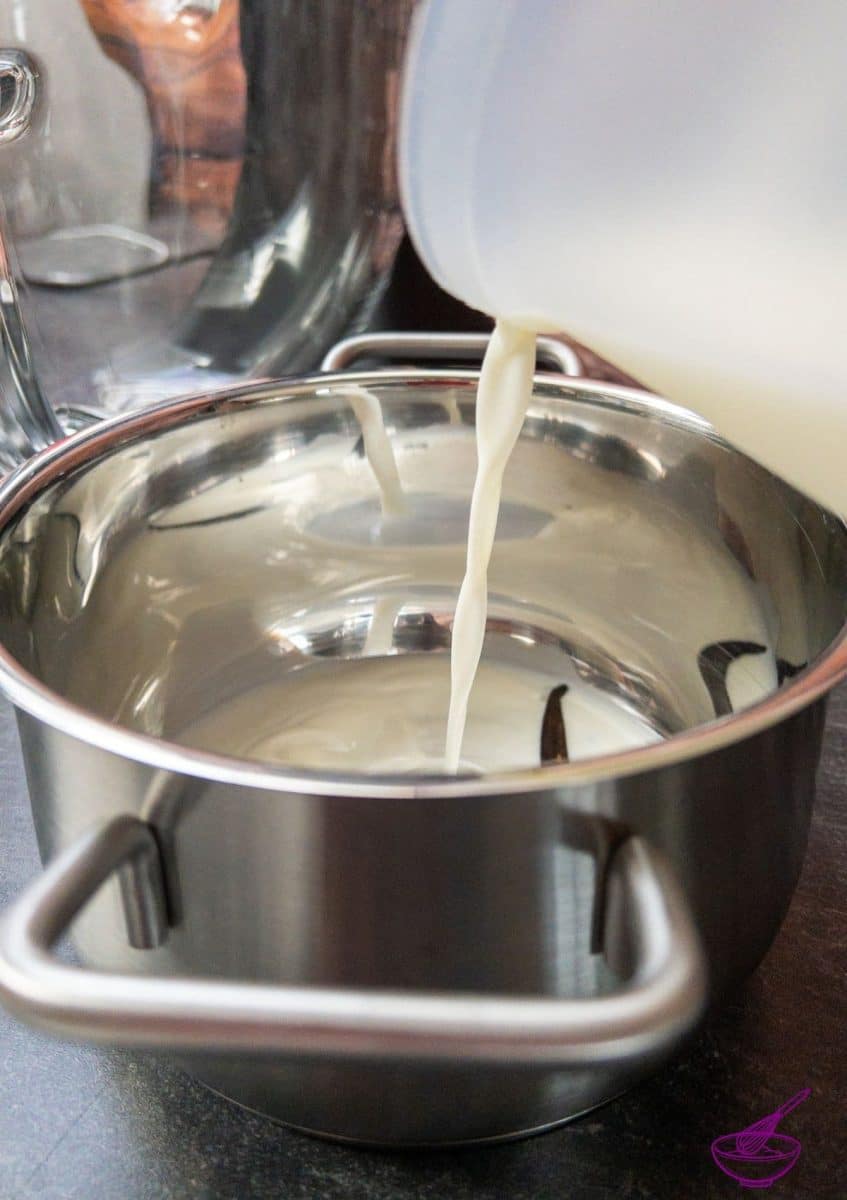
Now bring the milk vanilla mixture to a boil! It is essential to remove the pot from the stove immediately as soon as the milk boils.
Cover the pot with a pot lid or, like I did, simply with a small plate afterward. Both work well.
Now let the mixture sit and steep, covered, for 30 minutes.
Step 2
While the vanilla milk mixture is steeping, separate the eggs.
Save or freeze any egg whites you have left over. Frozen egg whites will last up to 10 months in the freezer!
You can still use them to make Christmas cookies, egg white cakes, or a good pavlova at a later date!
In the mixing bowl of your food processor, add the egg yolks and granulated sugar and whisk to combine.

With the KitchenKitchenAid mixer, beat on speed 6.
Once the mixture is pale and thick, it’s the way you want it.
Now bring the milk vanilla mixture back to a boil after the 30 minutes have passed. Take it off the heat and pour it into the mixing bowl of your food processor.
Whip the mixture until smooth (KitchenAid speed 4).
Step 3
It’s a bit of a back and forth with this recipe, as you keep boiling and thickening the ingredients repeatedly.
Now rinse out the saucepan you used earlier and add the vanilla cream you prepared in the last step.
Stir the mixture on medium-low heat until the cream thickens and sticks to the back of a wooden spoon. Be careful not to bring the mixture to a boil.
Once the cream has a thick consistency, strain it through a sieve into a sealable bowl.
You can also use a regular mixing bowl and cover it with plastic wrap.
The purpose of the covering is to prevent skin from forming as the mixture cools. Set the covered mixture aside and let it cool.

Step 4
Once the cream has cooled down entirely, stir in the heavy cream.
Afterward, it is time to use the KitchenAid ice cream maker attachment.
Place the KitchenAid freezer bowl in your KitchenAid machine and place the dasher. Once everything is prepared, you’re ready to go.
Empty the prepared ice cream batter into the freezer bowl and switch to level 2.

Let the dasher whip the cream until the mixture is almost solid. Once the ice reaches the right consistency, turn off the machine and pour the vanilla ice into a freezer container.
Please place it in the freezer overnight so that your vanilla ice is well chilled.
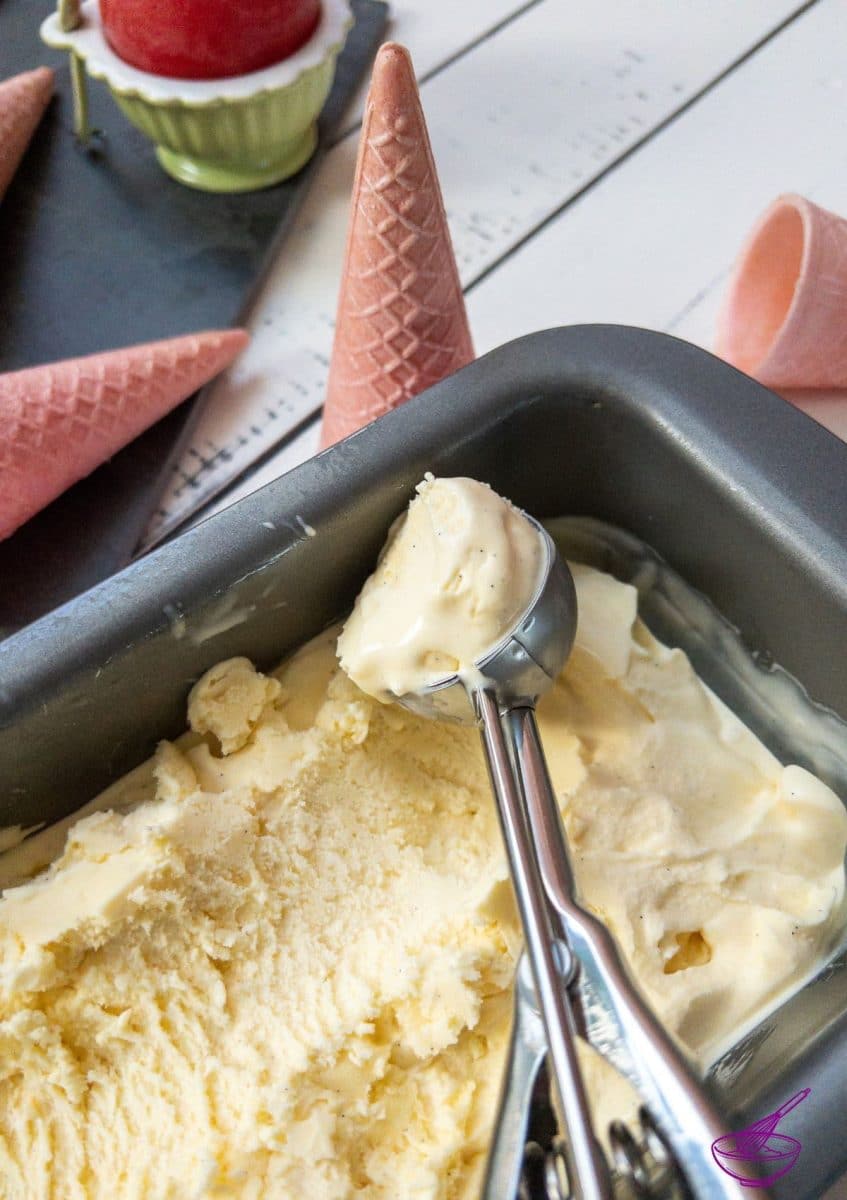
Before serving the next day, please place it in the fridge for 20 minutes. There it will soften a bit and be perfect for spooning!
Serve this delicacy in a sundae with chocolate sauce and whipped cream or in pink ice cream cones for the delight of little gourmets!

What a treat! It is so much better than a store-bought ice cream! Yum!
🍽 Equipment
- Small saucepan
- KitchenAid
- KitchenAid Ice cream Attachment
- Freezer safe container – can also be a loaf pan
- Mixing bowl with a lid or mixing bowl and cling film for covering
- Bowls for separating the eggs
- Mesh strainer
- Wooden spoon
- Kitchen knife
- Cutting board
🌡️ Storage
Since you use fresh eggs, you should store the ice cream for a maximum of one to two weeks, just to be on the safe side.
💭 Top tip
Especially in the production of ice cream, it is important not to use low-fat products. The fat is needed to get the right consistency!
🙋🏻 FAQ
Yes! You can easily double this recipe!
now available!
My new workbook is here!
Brewing Coffee for Milk Drinks
How to adapt your favorite brews for milk & creamers — without an espresso machine!
If you make this recipe, let me know how you liked it by ★★★★★ star rating it and leaving a comment below. This would be awesome! You can also sign up for our Newsletter or follow me on Pinterest or Instagram and share your creation with me. Just tag me @combinegoodflavors and hashtag #combinegoodflavors, so I don’t miss it.
Copycat KitchenAid Vanilla Ice Cream with Eggs

Equipment
- Small Saucepan
- Mixing bowl with a lid or mixing bowl and cling film for covering
- Mixing bowls for separating the eggs
- Mesh strainer
- Wooden spoon
Ingredients
- 1 Vanilla bean fresh – using vanilla extract is not recommended in this recipe
- 1 ¼ cups Milk with a high percentage of fat!
- 4 Egg yolk
- ½ cups Granulated sugar
- 1 ¼ cups Heavy cream with a high percentage of fat!
Instructions
- Take a cutting board and a sharp knife and cut the vanilla bean lengthwise. Carefully scrape out the seeds.1 Vanilla bean
- Then place the vanilla pulp and the pod in a small saucepan and pour in the milk.1 ¼ cups Milk
- Bring the milk vanilla mixture to a boil! Remove the pot from the stove immediately as soon as the milk boils.
- Cover the pot with a pot lid or a small plate afterward.
- Now let the mixture sit and steep, covered, for 30 minutes.
- While the vanilla milk mixture is steeping, separate the eggs.
- In the mixing bowl of your food processor, add the egg yolks and granulated sugar and whisk until the mixture is pale and thick.4 Egg yolk, ½ cups Granulated sugar
- Now bring the milk vanilla mixture back to a boil.
- Take it off the heat and pour it into the mixing bowl of your food processor.
- Whip the mixture until smooth (KitchenAid speed 4).
- Now rinse out the saucepan you used earlier and add the vanilla cream you prepared in the last step.
- Stir the mixture on medium-low heat until the cream thickens and sticks to the back of a wooden spoon.
- Once the cream has a thick consistency, pour it into a sealable bowl.
- Set the covered mixture aside and let it cool.
- Once the cream has cooled down entirely, stir in the heavy cream.1 ¼ cups Heavy cream
- Empty the prepared ice cream batter into the KitchenAid freezer bowl and switch to level 2.
- Let the dasher whip the prepared ice cream batter until the mixture is almost solid.
- Pour the vanilla ice into a freezer container.
- Please place it in the freezer overnight so that your vanilla ice is well chilled.
- Before serving the next day, please place it in the fridge for 20 minutes.
Nutrition
🤎 You might also like
⛑️ Food safety
- Cook to a minimum temperature of 165 °F (74 °C)
- Do not use the same utensils on cooked food, that previously touched raw meat
- Wash hands after touching raw meat
- Don’t leave food sitting out at room temperature for extended periods
- Never leave cooking food unattended
- Use oils with high smoking point to avoid harmful compounds
- Always have good ventilation when using a gas stove


A great recipe for using up the vanilla beans I got in Tahiti! What an incredible flavour
This vanilla ice cream was so easy and delicious! Loved the rich vanilla flavor!
I am so happy you liked it, Kayla!
Thanks for the great recipe. *Shopping for the ice cream attachment NOW*
I like how easy to make this vanilla ice cream, trivia we eat this in a sandwich. thanks for the recipe.
Loved how rich and creamy this vanilla ice cream is. Such intense vanilla flavors and super easy to make. Thanks for the recipe.