How to Decorate a real Christmas Tree in 11 Steps


There’s something purely magical about decorating the Christmas tree. Every year, I can’t help but feel like a kid again, filled with that same wonder and excitement that makes Christmas truly special.
In our house, the tree isn’t just a decoration—it’s a tradition. We bring it to life the weekend before Christmas, transforming our living room into a festive wonderland just in time for the “Christkind” to arrive on Christmas Eve.

With a cozy fire crackling and a playlist of my favorite Christmas songs filling the air, we dive into the joy of decorating.
There’s always a plate of cookies within reach and a glass of mulled wine in hand. After all, Christmas decorating should be as warm and joyful as the season itself! And since our little one joined the family, we save the decorating for after bedtime, so she can wake up to the sight of a fully trimmed tree. The look in her eyes when she sees it—it’s priceless and makes the late-night decorating so worth it.
For us, it’s always a real tree—cut at just the right full moon. The rich scent of fresh pine fills our home, evoking the feeling of a snowy forest and sparking memories of Christmases past. There’s just no comparison; an artificial tree could never give us that authentic holiday magic. But let’s dive into how to bring your tree to life, step by step, with all the cheer and none of the stress.
Step 1 – Creating the right mood
Before you even think about picking up a single ornament, create the perfect atmosphere.
Take your time and savor the moment—it’s not a task to rush. Slip into comfy clothes, put on your favorite Christmas playlist, and pour yourself a glass of something festive.
In our home, we love to nibble on freshly baked cookies and sip some red wine while we work. It’s a little Christmas tradition that sets the stage for all the decorating to come.
Step 2 – Find the Perfect Spot
Your Christmas tree deserves a place where it can shine. We always set ours at the corner where the living room meets the dining room, so it’s in view no matter where we’re sitting.
Even from the kitchen, I can catch a glimpse of the twinkling lights while baking cookies—adding just that extra sprinkle of Christmas joy to everything I do.
Step 3 – Choose a Sturdy Tree Stand
A wobbly tree is the last thing you need! We’ve had the same solid tree stand for years, and it keeps our tree standing tall and steady, no matter how many ornaments we pile on. It’s the foundation for everything that comes next, so make sure yours is sturdy and up for the job.
Many Christmas tree seller offers matching Christmas tree crosses at the time of purchase.
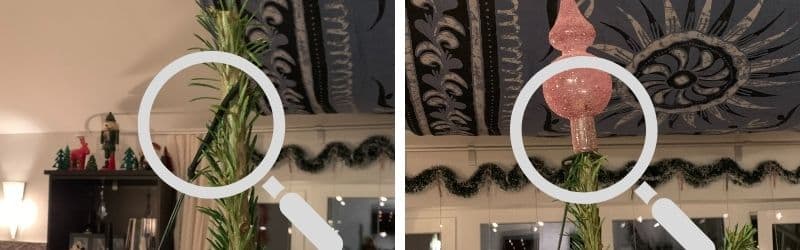
Step 4 – Find the “Sugar Side”
Once the tree’s branches have settled, rotate it to find the most beautiful side, or as I like to call it, the “sugar side.” That’s the part you want front and center, ready to be showcased. And if the top isn’t quite perfect, a little trim can do wonders to help your tree topper sit just right.
Step 5 – Hang the Lights
This is where the magic begins. We finally found the perfect string of lights that makes decorating a breeze, and now it’s a Christmas game-changer! Start from the top and work your way down, wrapping the lights around the tree. Plug them in and adjust as needed until everything sparkles just right. The warm glow makes our living room feel like a little corner of the North Pole.
Step 6 – Add the Topper
We like to do this early because the topper often helps anchor the end of the light strand. Our tree is crowned with an angel, reminding us of the nativity story and bringing that touch of tradition that I cherish from my own childhood.
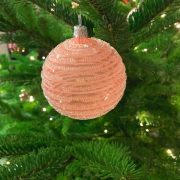
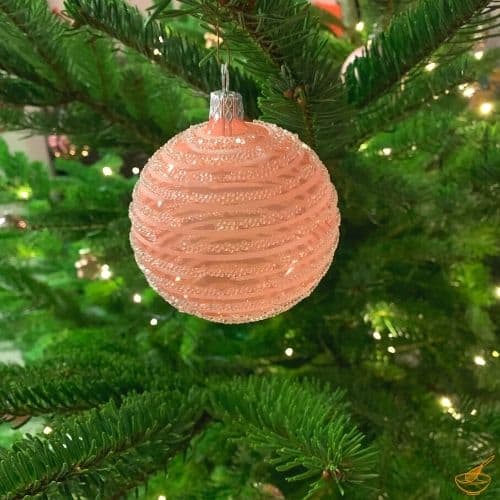
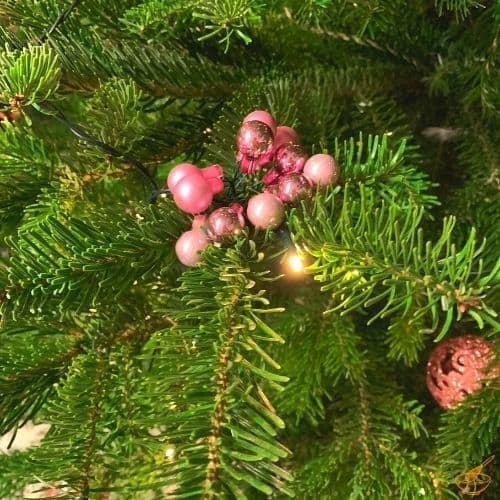
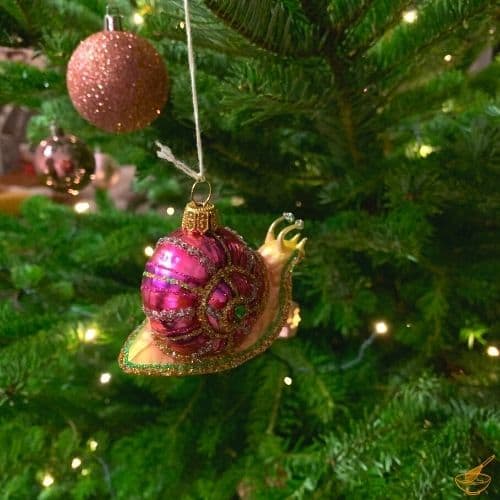
Step 7 – Showcase the Special Ornaments
Now, it’s time to decorate with the ornaments that mean the most to us. We start with our favorite glass baubles and unique pieces, each one with a story to tell. There’s a magic in hanging ornaments that have been with you for years; it feels like greeting an old friend each Christmas season.
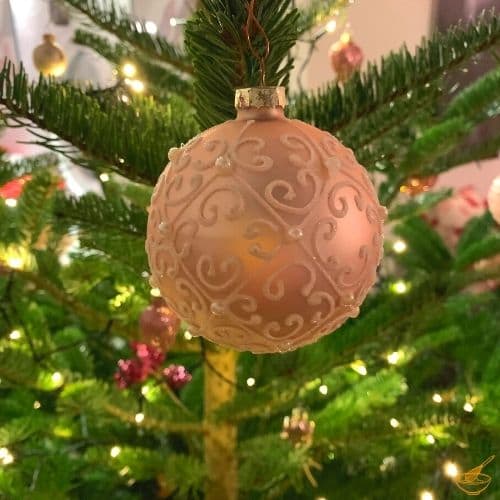
Step 8 – Place the larger Ornaments
Work from large to small, placing the heavier baubles deeper on the branches for stability and spreading the decorations evenly around the tree. Remember, the back of the tree needs love too!
Step 9 – Place the medium and small Ornaments
As you fill the branches, let the smaller baubles nestle into the gaps. They’re the finishing touches that bring the whole look together, making the tree appear full and lush.
Step 10 – Place the Garlands, Ribbons, or Beads
Garlands, ribbons, or beads can add that final festive flair. I like to start at the bottom and work my way up, gently wrapping the garland around the tree. If you’re using real candles like we do on Christmas Eve, make sure you leave space for the candle holders.
To help you with that, get the FREE Guide: Decorating the Christmas tree – planning and shopping.

Step 11 – Place the tree skirt
Last but not least, sweep away any fallen needles and drape a tree skirt around the base. It adds the perfect touch of elegance, framing the tree like a picture-perfect holiday scene.
And there you have it—your Christmas tree is ready to light up your home and your hearts! Decorating isn’t just about the end result; it’s about creating memories and filling your home with the spirit of the season. So, take your time, make it special, and let the joy of Christmas shine brightly.
May your tree be merry and your holidays magical! 🎄
Optional – Natural Candles

No Christmas tree in our home would be complete without natural candles. Ever since I was a little girl, real candles have been part of our tradition, lighting up the tree only on Christmas Eve. It’s a moment of pure magic—the kind that makes the holiday feel even more special.
We use traditional candleholders to secure the candles on the outer branches, choosing ones that match our decorations or opting for classic ivory-colored candles. When the candles are lit, the tree glows with a warmth that just can’t be replicated by electric lights alone. The combination of the flickering flames with the twinkle of the string lights creates a breathtakingly beautiful scene that fills the room with enchantment.
Of course, safety is a must when using real candles. We always keep a blanket, a fire extinguisher, or a bucket of water nearby—just in case. In all my 42 years, we’ve never had any incidents, but it’s always better to be cautious.
As the candles cast their soft glow on Christmas Eve, it feels like time stands still, and the holiday magic wraps around us like a cozy blanket. It’s a tradition that makes the night even more festive, a beautiful blend of old-world charm and Christmas wonder. Done! The tree is decorated and ready for the celebration! Have fun decorating, and have a great Christmas! 🎄
And don’t forget to get your free PDF! Decorating the Christmas tree – planning and shopping.
The History of Christmas Trees
Long before Christmas, evergreen plants played a vital role in winter celebrations. Ancient cultures believed these green boughs could ward off evil spirits and bring vitality during the dark months. The winter solstice, around December 21-22, marked the return of the sun, symbolizing hope and renewal. Egyptians, Romans, and Northern Europeans used evergreens to celebrate the triumph of life over darkness, with the Druids and Vikings also embracing them as sacred symbols.
The modern Christmas tree tradition began in medieval Germany and Livonia (now Estonia and Latvia). By the 16th century, German Protestants brought decorated trees into their homes, adorned with roses, apples, wafers, and tinsel. The custom spread across Europe in the 19th century, with candles later giving way to electric lights.
Today, Christmas trees are decorated with a mix of traditional and modern ornaments like baubles, garlands, and candy canes, often topped with a star or angel. Though initially resisted by the Catholic Church, the tradition became universal, even reaching the Vatican in 1982.
Depending on the country, Christmas trees are set up as early as Advent or as late as Christmas Eve and are taken down from Twelfth Night to Candlemas. The Christmas tree continues to symbolize the enduring spirit of life and the magic of the season.


Is there a specific order in which ornaments should be placed on the tree for maximum impact, or is it better to just let creativity guide the process?
I prefer hanging the ornaments from largest to smallest, since the small ones always work best as fillers. Apart from that, let your creativity run free! Merry Christmas!