Bloody Berry Halloween Bark Recipe
Modified: Published: by Nora Breyer Combine Good Flavors 10 Comments
This post may contain affiliate links. As an Amazon Associate I earn from qualifying purchases. Disclosure Policy


Creamy white chocolate, blood-red berry swirls, and tart raspberry dust make this easy Halloween bark spooky, pretty, and just a little wicked.
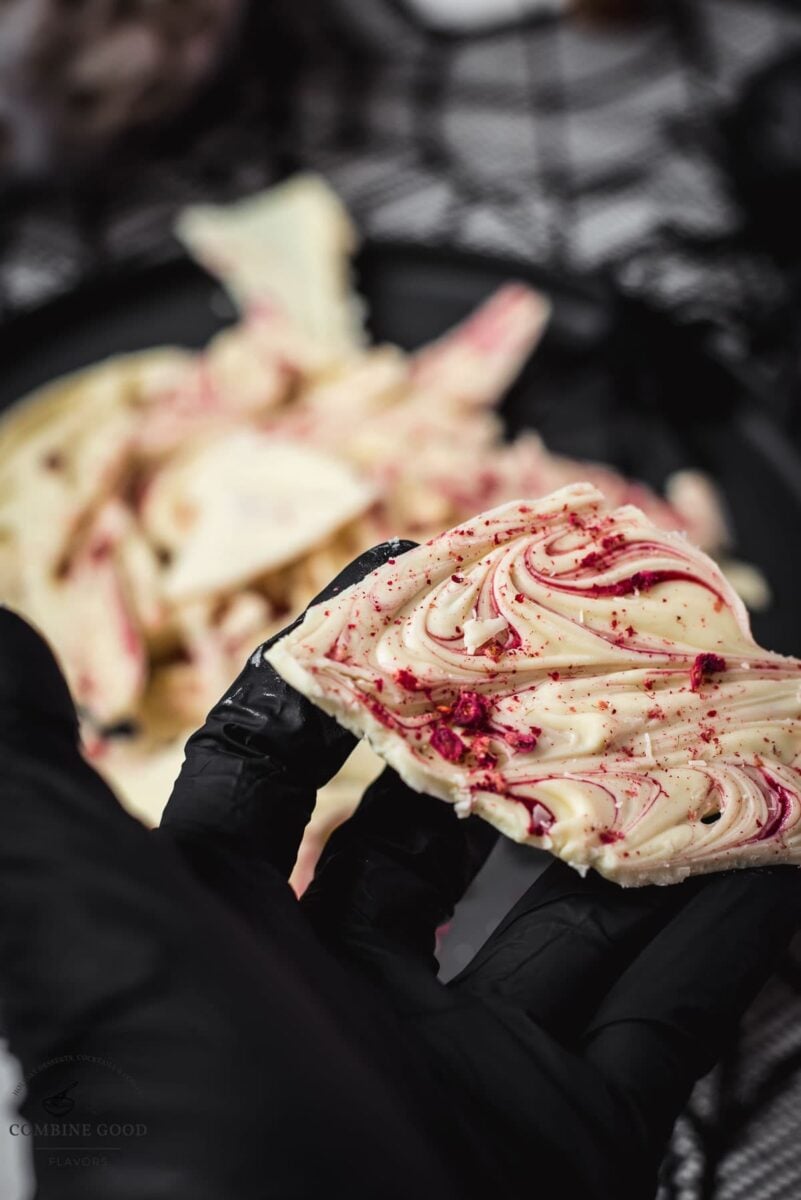
Halloween is the perfect excuse to have a little fun with dessert, and this Bloody Berry Halloween Bark fits the mood beautifully.
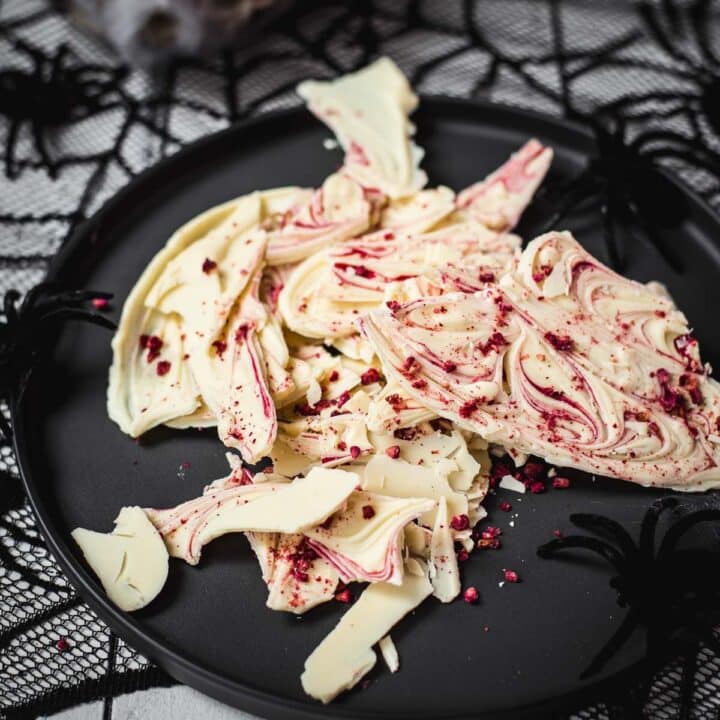
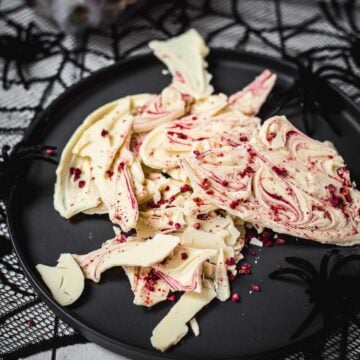
Creamy white chocolate is swirled with my homemade Berry Blood Syrup, then finished with freeze-dried raspberries and a pinch of flaky sea salt. The syrup creates those deep red streaks, while the raspberries add just enough tartness to keep the white chocolate from tasting too sweet.
It looks much fancier than it actually is – Melt. Swirl. Sprinkle. Chill. Break. – Done.
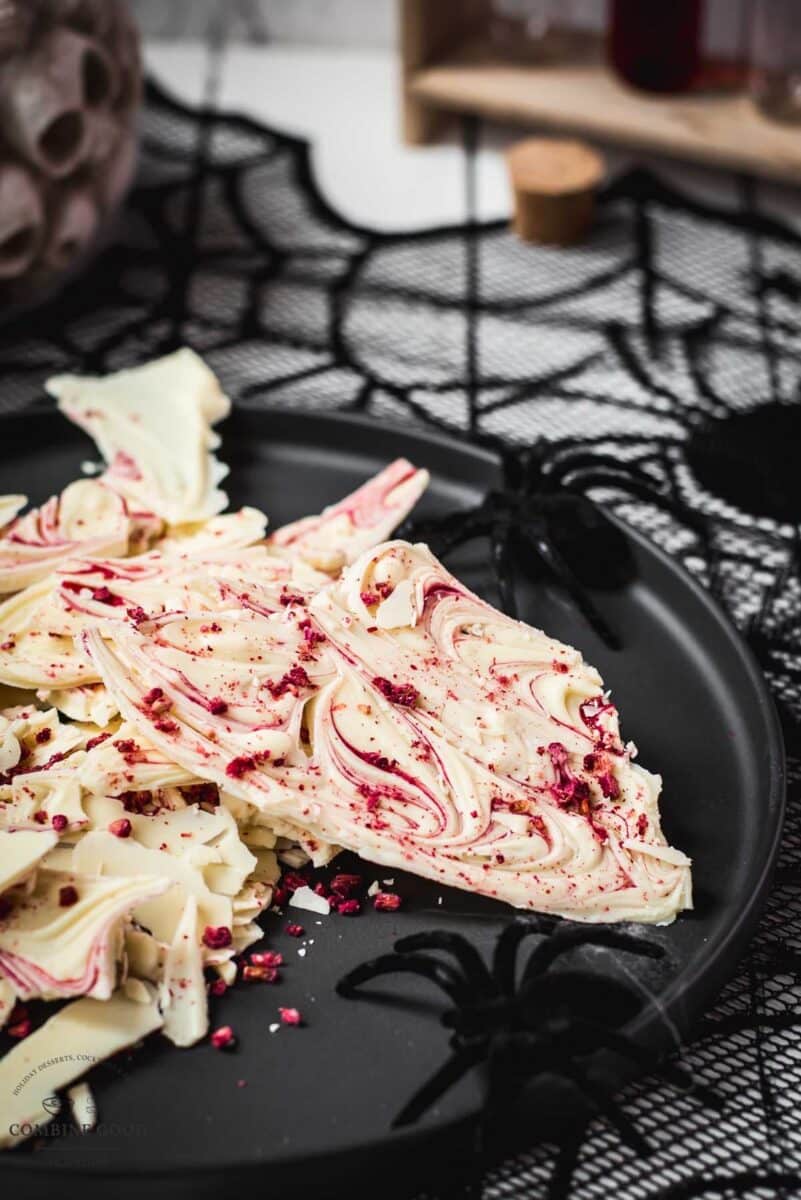
Once you break it into those jagged white and red pieces, though, it suddenly looks like something that belongs on a vampire’s dessert table.
This is exactly the kind of Halloween treat I love once the evenings turn cold and dark. Give me a blanket, a few candles, a good fantasy book, and a plate of this bark and I’m happy. It’s gothic without feeling overdone, with just enough vampire queen energy to make it fun.
And yes, I can absolutely see myself eating this while reading Crowns of Nyaxia.
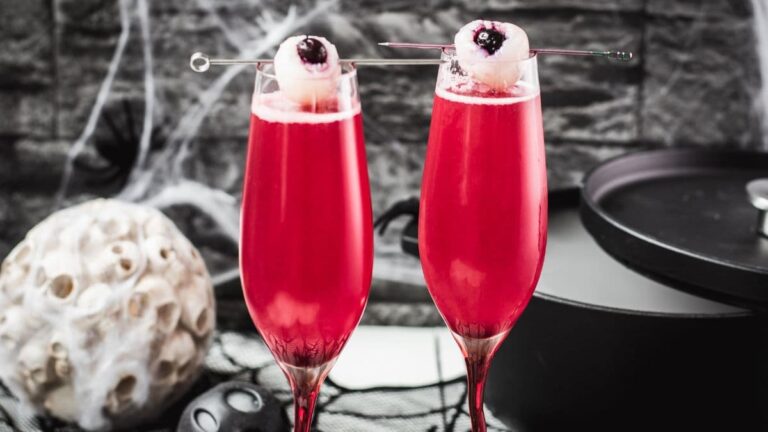
If you’re planning a full Halloween spread, serve it with my homemade Berry Blood Syrup, Black Velvet Cocktail, Witch’s Bubbly Halloween Cocktail, or Blood Clot Berry Brains Mousse.
Recipe Snapshot
EASE: Easy
FLAVOR: Creamy white chocolate, tart raspberry, lightly salty
TEXTURE: Crisp chocolate bark with raspberry dust
MOOD: Gothic, elegant, dramatic
BEST FIR: Halloween parties, spooky dessert boards, edible gifts, and dark fantasy reading nights
WOULD I MAKE IT AGAIN? Definitely. It takes very little effort, but those jagged white and red shards look wonderfully striking once they’re piled onto a plate.

Note
From Nora’s Kitchen
Some Halloween treats are cute and colorful, with candy eyes, bright sprinkles, and smiling little ghosts.
This one is not.
I wanted this bark to feel darker and a little more elegant, like something you might find on a dessert table in a candlelit vampire castle.
The white chocolate gives you a pale backdrop, and then the Berry Blood Syrup changes everything. Those dark red streaks against the white chocolate are what really give the bark its Halloween look.
Then comes the raspberry dust.
Crush the berries finely enough and they settle over the top in a soft red layer. It’s a little messy, a little mysterious, and somehow exactly right.
No plastic spiders needed.
Of course, it still has to taste good.
White chocolate is naturally quite sweet, so the freeze-dried raspberries and flaky sea salt aren’t just there for looks. The berries bring tartness, while that small pinch of salt keeps the sweetness in check.
The Berry Blood Syrup also works best when you use a light hand. A few thin swirls are plenty. Add too much and parts of the bark can turn soft or sticky instead of staying crisp.
Just a few ingredients
See the recipe card for quantities.
What you’ll love about this recipe:
🔪 How to Make Bloody Berry Halloween Bark
Prepare the baking sheet
Line a small baking sheet or tray with parchment paper. Before you melt the chocolate, check that the tray fits in your fridge. It sounds obvious, but it’s much nicer to find that out now than when you’re standing there with a tray full of melted white chocolate.
Melt the white chocolate
Place the white chocolate in a heatproof bowl over a saucepan of barely simmering water. Make sure the bottom of the bowl doesn’t touch the water. Let the chocolate melt gently, stirring every so often until smooth. You can also melt it in the microwave. Use short bursts and stir well between each one. White chocolate can overheat quite easily, so take your time. If it seems thick, don’t add water. Even a small amount of moisture can cause melted chocolate to seize.
Spread the chocolate
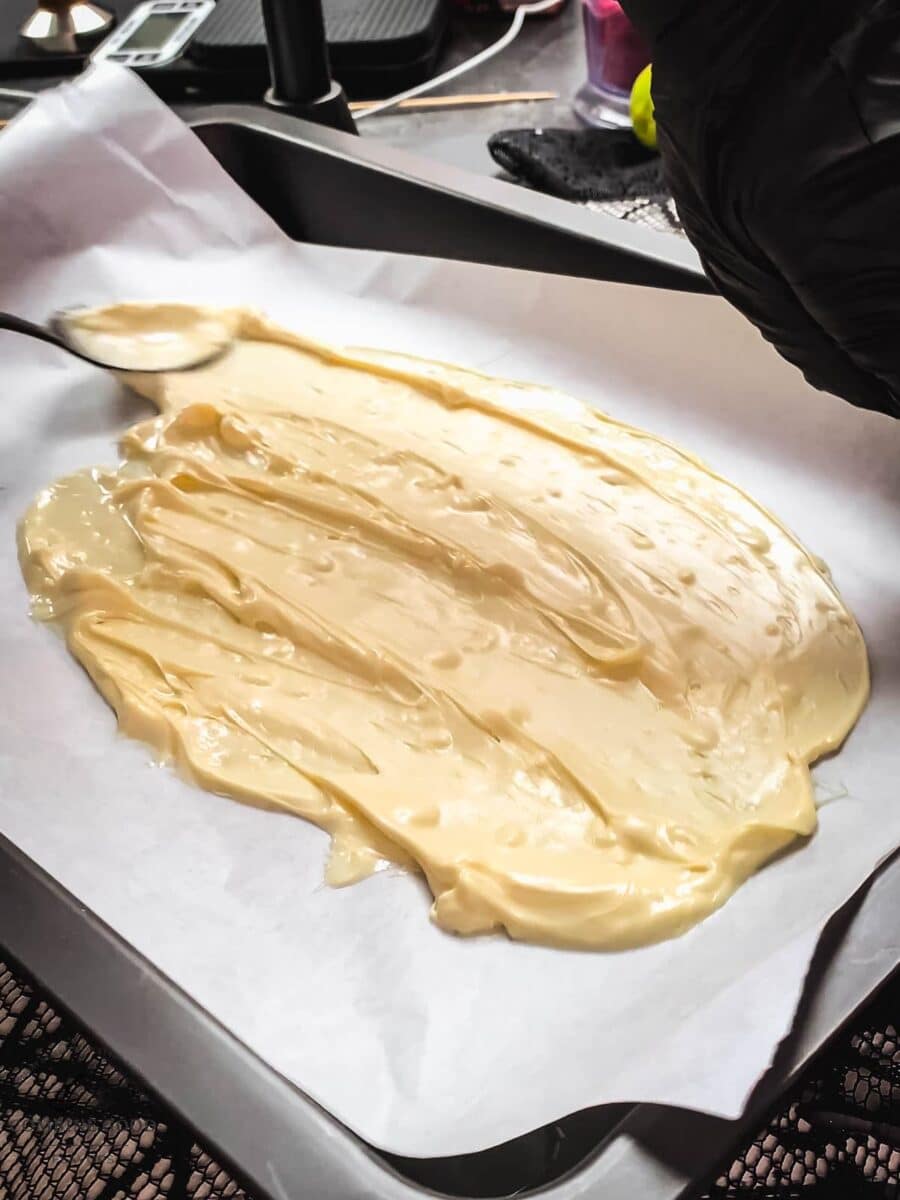
Pour the melted chocolate onto the parchment and spread it into a rough rectangle about ¼ inch / ½ cm thick. Don’t worry about perfect edges. A slightly uneven shape actually suits bark better. Once it’s broken into pieces, those rough edges become part of the look.
Create the bloody berry swirls
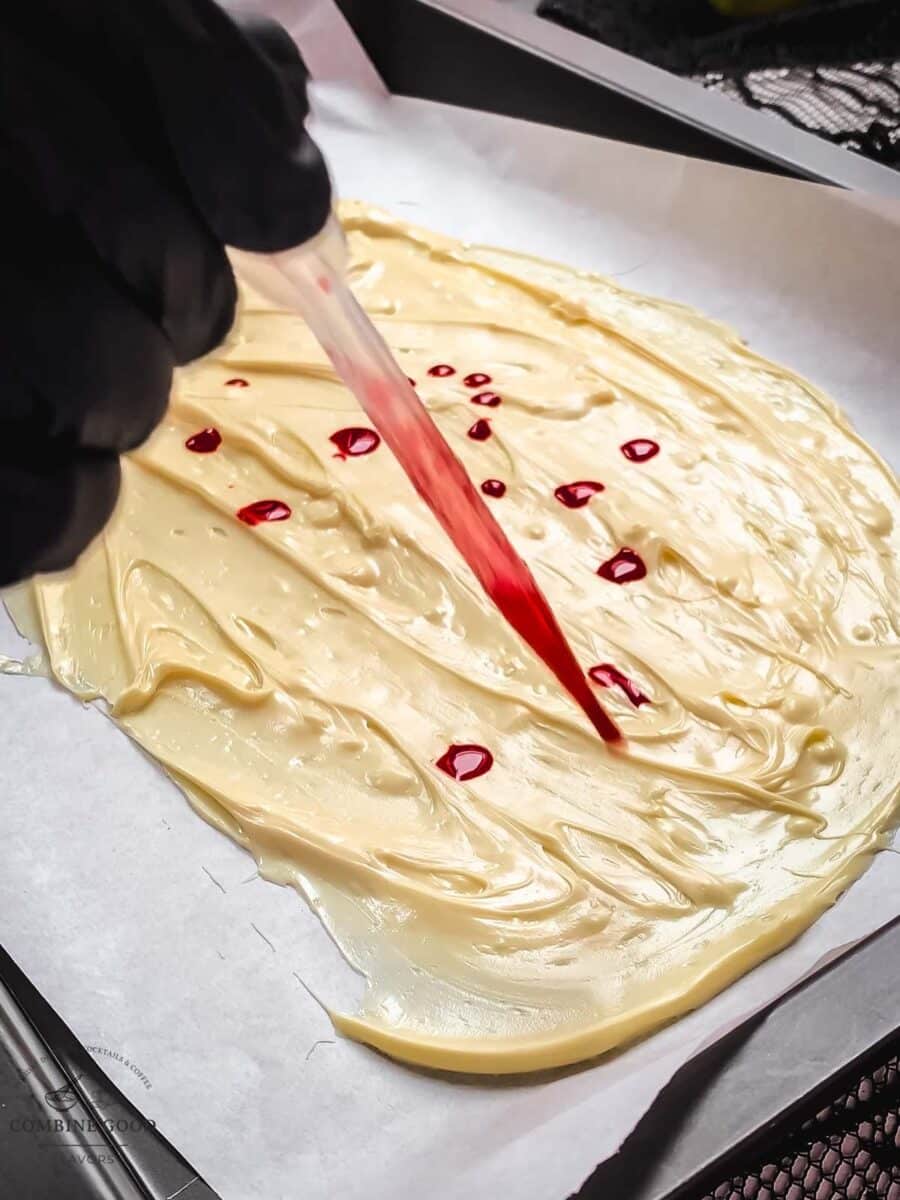
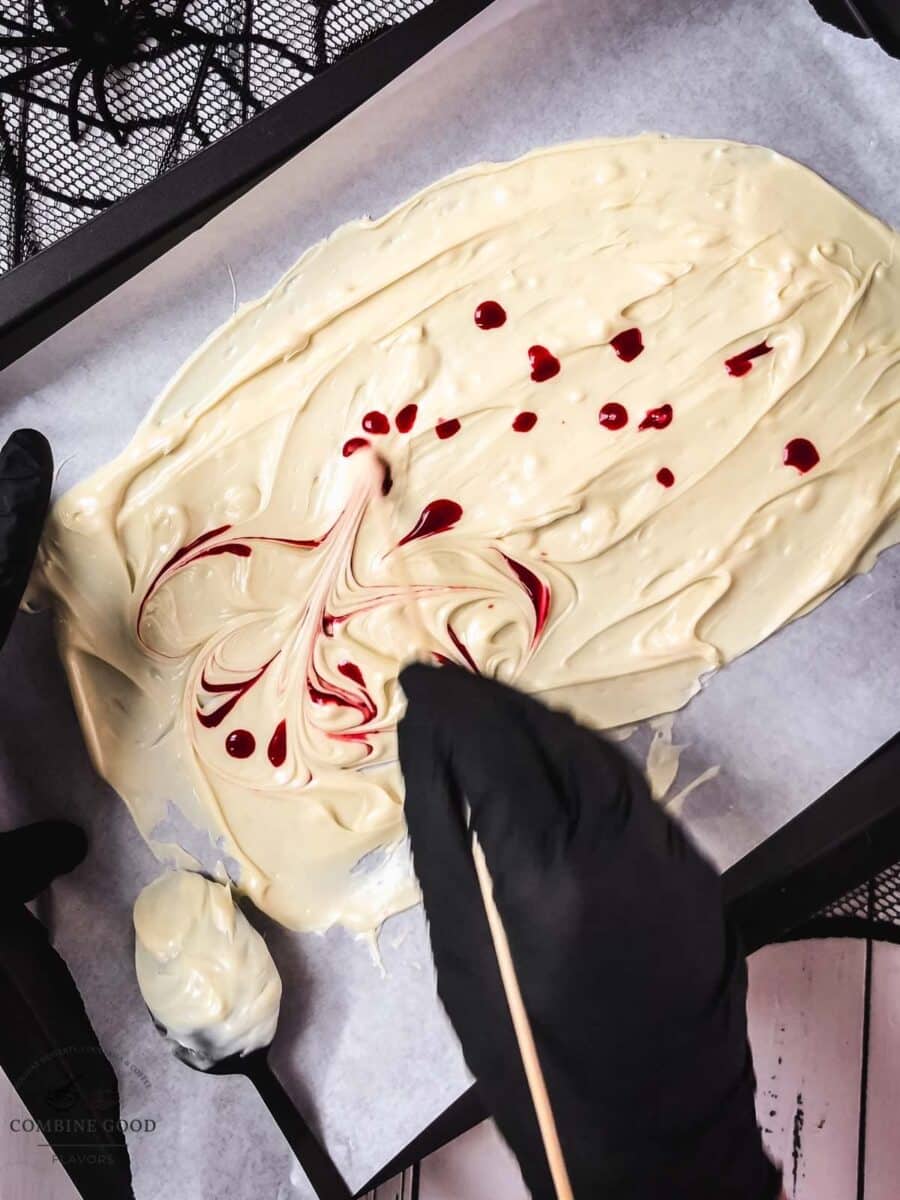
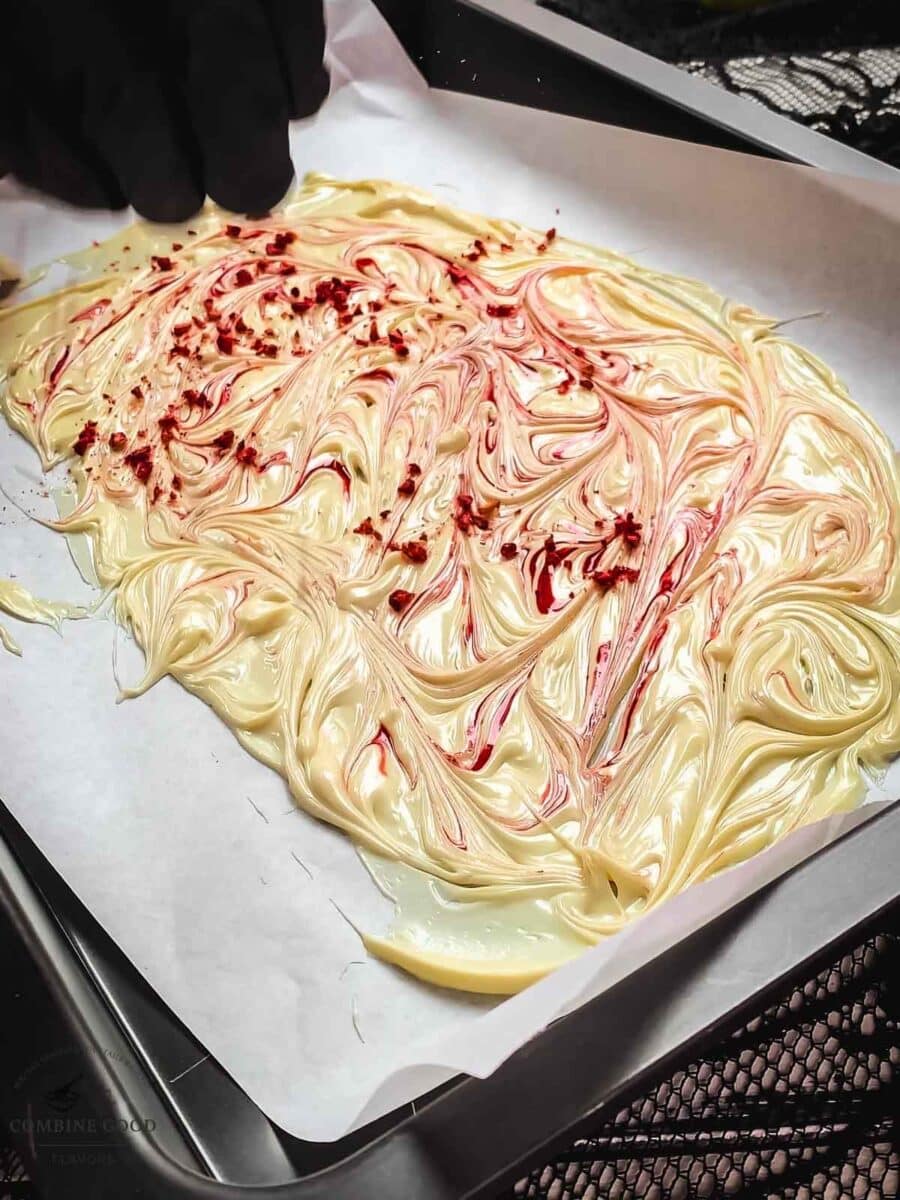
Drizzle a small amount of Berry Blood Syrup over the chocolate in thin lines and small drops. If you fancy, use a disposable pipette like I did. Use a toothpick or skewer to gently drag the syrup through the surface. A few swirls are enough. It’s tempting to keep going, but stop before the red starts blending into the white chocolate. You want distinct bloody streaks, not pink chocolate.
Add the raspberry dust
While the chocolate is still soft, sprinkle the finely crushed freeze-dried raspberries over the top. Finish with a small pinch of flaky sea salt. If you’re using lemon zest or citric acid, add just a tiny amount now.
Chill and break into shards
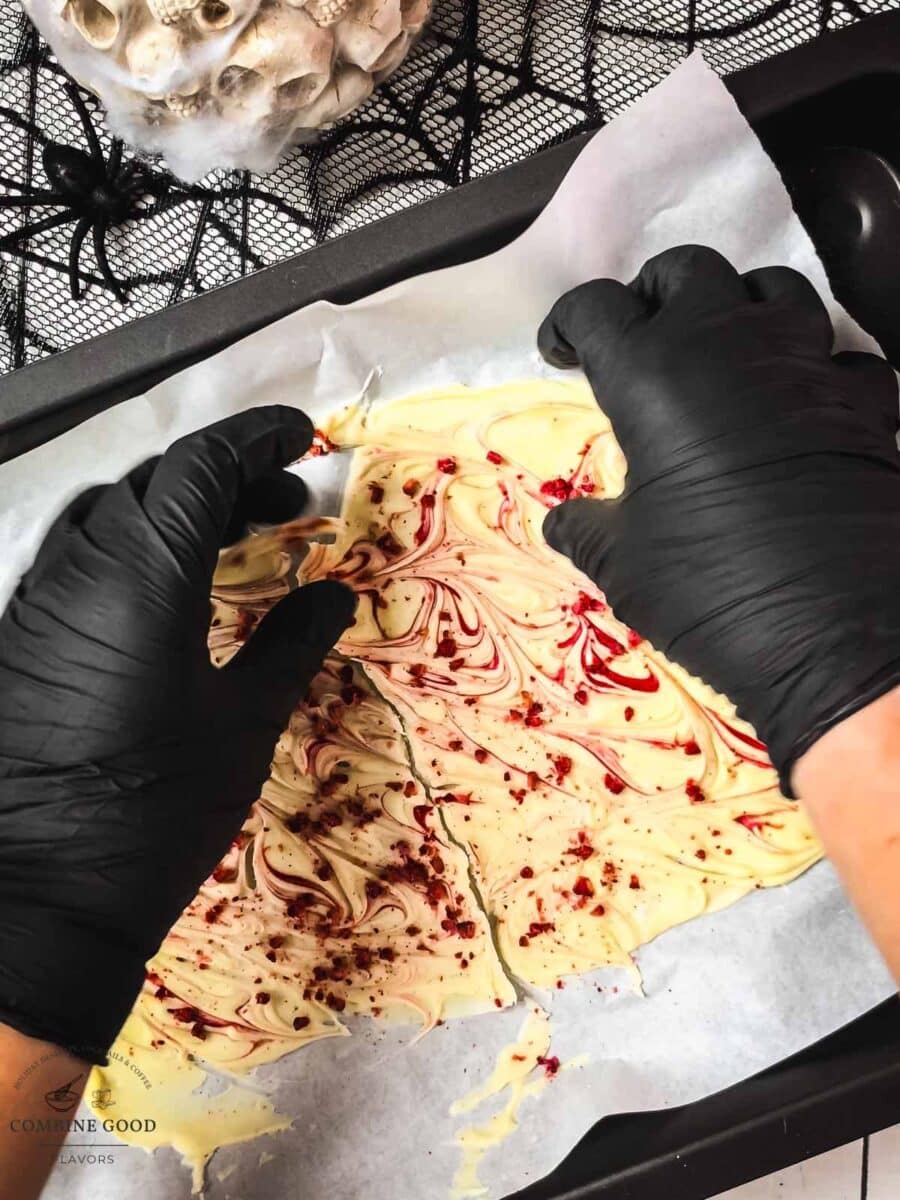
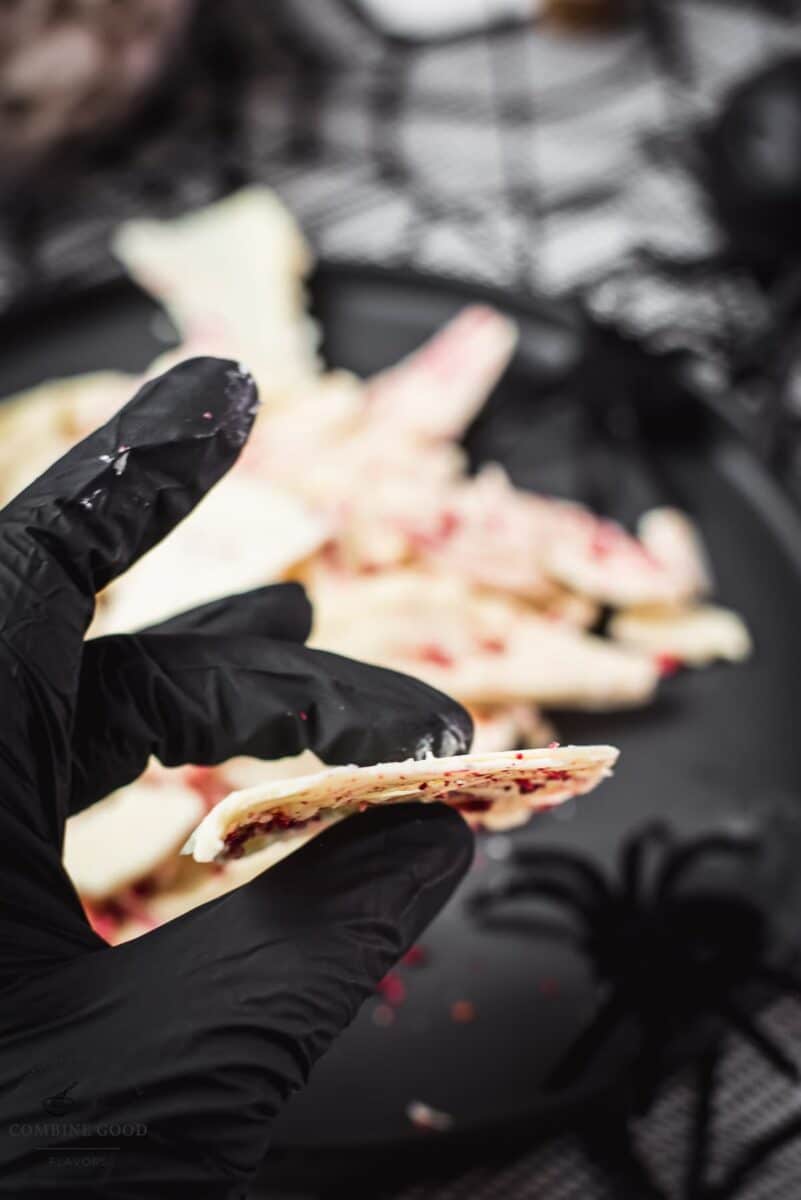
Place the tray in the refrigerator and chill for 20 to 30 minutes, or until the chocolate is completely firm. Once set, break the bark into uneven pieces. I like to keep a few shards quite large and mix them with smaller pieces when serving. The mix of sizes makes the finished platter look much more interesting.

Note: If you’d like to learn more, take a look at my free chocolate melting workbook and my guide to the essential chocolate-making tools.
Tools you’ll need
Some of the equipment links below may be affiliate links. As an Amazon Associate, I earn from qualifying purchases, at no extra cost to you.

Tips & Tricks
- Start with less syrup.
- You can always add another drizzle. Too much can make the bark soft or sticky.
- Don’t over-swirl.
- A few gentle passes with a toothpick are enough. You want clear red streaks, not pink chocolate.
- Crush some raspberries very finely.
- Keep a little texture inside the bark, but use a fine powder on top for the prettiest finish.
- Don’t skip the salt.
- It’s only a pinch, but it makes a real difference with sweet white chocolate.
- Keep it chilled.
- Because of the berry syrup, I store the bark in the refrigerator and take it out shortly before serving.
Storage
Store the bark in an airtight container in the refrigerator for up to 5 days. If you’re stacking the pieces, place parchment paper between the layers. This helps keep them from sticking together, especially where the Berry Blood Syrup sits close to the surface. I wouldn’t leave the bark at room temperature for too long. As the chocolate warms, it softens, and the syrup can make some areas slightly sticky.
More Halloween Recipes
Planning a spooky spread? Try these next:
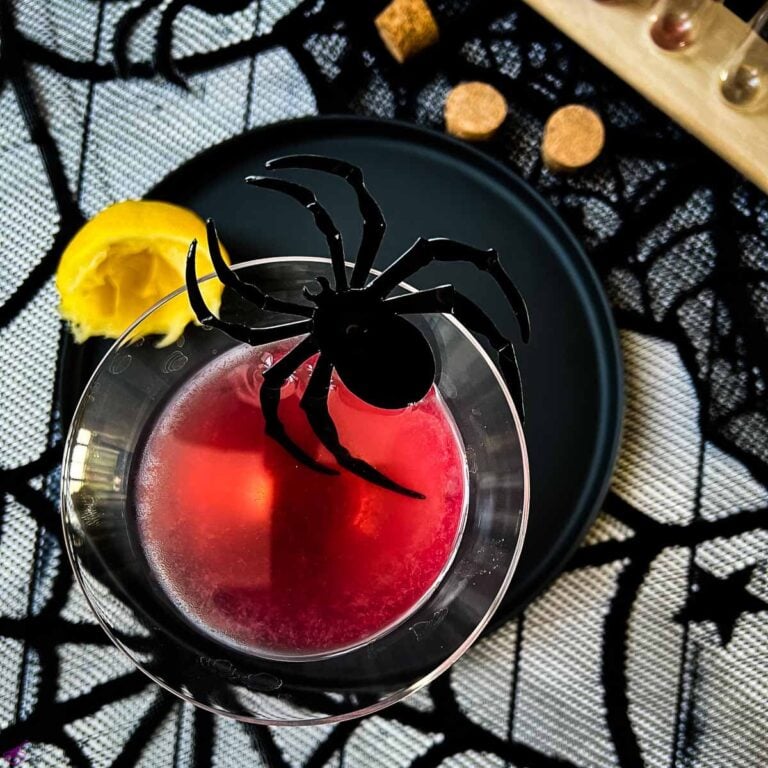

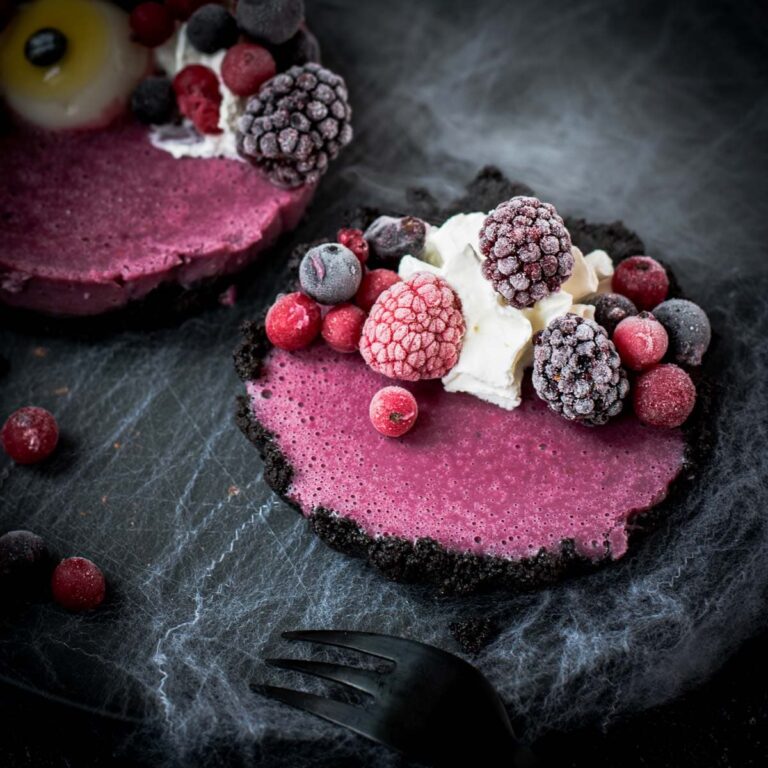
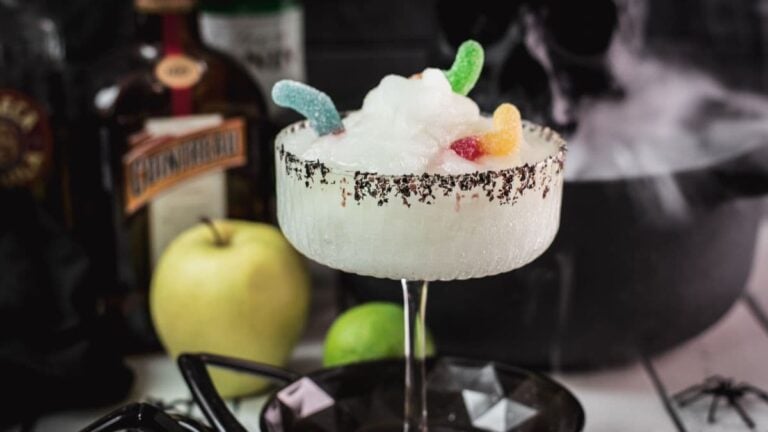
If you make this recipe, let me know how you liked it by ★★★★★ star rating it and leaving a comment below. This would be awesome! You can also sign up for our Newsletter or follow me on Pinterest or Instagram and share your creation with me. Just tag me @combinegoodflavors and hashtag #combinegoodflavors, so I don’t miss it.
Bloody Berry Halloween Bark
Equipment
- Small baking sheet or tray
- Heatproof bowl
- Small Saucepan if using the double-boiler method
- Silicone spatula
- Toothpick or skewer
Ingredients
- 7 oz White chocolate good-quality
- 2 tbsp Berry Blood Syrup using only as much as needed
- 2-3 tsp Freeze-dried raspberries lightly crushed
- 1 pinch Flaky sea salt
Instructions
- Line a small baking sheet or tray with parchment paper.
- Melt 7 oz White chocolate gently in a heatproof bowl over a saucepan of barely simmering water, stirring occasionally until smooth.7 oz White chocolate
- Pour the chocolate onto the prepared parchment and spread it into a rough rectangle about ¼ inch / ½ cm thick.
- Drizzle 2 tbsp Berry Blood Syrup over the chocolate in thin lines or small drops.2 tbsp Berry Blood Syrup
- Use a toothpick or skewer to gently swirl the syrup through the surface. Add another small drizzle only if needed.
- Sprinkle 2-3 tsp Freeze-dried raspberries and 1 pinch Flaky sea salt over the top.2-3 tsp Freeze-dried raspberries, 1 pinch Flaky sea salt
- Refrigerate for 20 to 30 minutes, or until completely firm.
- Break into jagged shards and serve chilled.
Notes
Don’t over-swirl. A few gentle movements are enough to create bold red streaks.
The tart raspberries and flaky sea salt help balance the sweetness of the white chocolate.
Store the bark in an airtight container in the refrigerator for up to 5 days.
Nutrition
⛑️ Food Safety
- Wash your hands and make sure all bowls, utensils, and work surfaces are clean before you begin.
- Keep water and steam away from the white chocolate while it melts. Even a small amount of moisture can cause the chocolate to seize.
- Use clean, completely dry utensils when working with melted chocolate.
- Store the finished bark in an airtight container in the refrigerator and keep it away from heat and direct sunlight, where the chocolate may soften or melt.
For further information, check the FDA’s guidance on safe food handling.

I have a kid obssesed with Halloween all yeard round lol, so I made this bark for him. Totally a hit!
That’s wonderful! Glad you and your kid liked it! 🙂
This turned out great, and it was super duper easy to make.
Thank you, Diane! I am happy you liked it! 🙂
Brilliantly easy and looks great! Plus, white choc and raspberries is one of my favorite combos!
That’s awesome! Thank you, Kate! 🙂
Made this for a Halloween party and everyone was so impressed. It looks so fancy but it’s so easy. The berry swirls against the white chocolate are perfect. Definitely making this every year.
That is so wonderful! thank you, Eugenia!
This recipe is perfect for a Halloween get together! Absolutely delicious
Thank you, Penelope!